

After upgrading your PC to Windows 10, did the Administrator account become disabled?
You don’t have to worry about the issue. This article will show you how to fix the disabled Administrator account problem.
Before then, let’s see why having an Admin account is important on Windows PCs.
What Is an Administrator Account on Windows?
The Administrator account gives users the privilege to make system-level changes on Windows.
Examples of such actions include system function troubleshooting, software installation, the configuration of visiting users’ access, and many more.
On the other hand, the default standard account will limit you to simple activities, such as web surfing or viewing emails.
However, only previous Windows versions, like Windows 7, have the Admin account option automatically enabled during installation.
On recent Windows builds, particularly Windows 10, the feature is built-in, but it is factory-set as disabled.
Why Is the Administrator Account Disabled on Windows 10?
Microsoft’s team cites security concerns as the main reason for the decision.
So, if you attempt to perform an admin-level operation with the Standard account, the system will prompt you to “see your system administrator on Windows 10.”
Nonetheless, in the next section, we have detailed the different procedures you can take to resolve the issue.
However, first, apply these steps to know what type of user account is active on your device:
- Click the Windows start button and click on the user account icon in the menu.
- Next, double-click on “Change account settings”.
- In the window that pops up, look underneath your profile to check if it says “Administrator” or “Standard.”
How to Fix the Disabled Administrator Account Issue on Windows 10
Below are the different ways to enable (and disable) the Admin account:
1. Reboot the PC in Safe Mode
Safe Mode makes it easy to diagnose and fix most Windows problems. You can use this special feature to access and modify the default system settings for the built-in Administrator account.
Follow the below steps to get started:
- First, press the Windows logo key + I shortcut to open the Settings menu.
![Open the Settings menu by pressing Win + I.]()
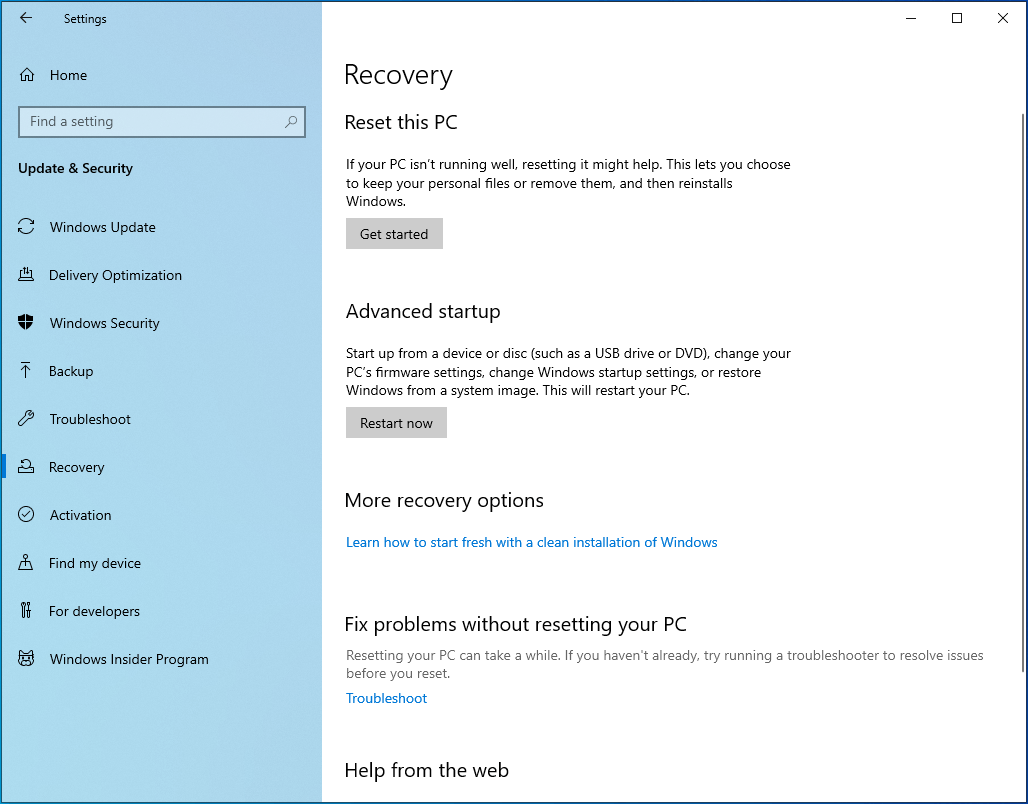
- Next, go to the Update & Security section and then select the Recovery tab.
![Navigate to the Recovery tab in Settings.]()
- Under the “Advanced startup” area, click on the “Restart now” button.
![]()
- As the system attempts to reboot, a list of options will appear on your screen. Choose the Troubleshoot option.
![Navigate the "Choose an option" screen.]()
- Then, navigate to Advanced options > Startup Settings.
![Go to Advanced options > Startup Settings.]()
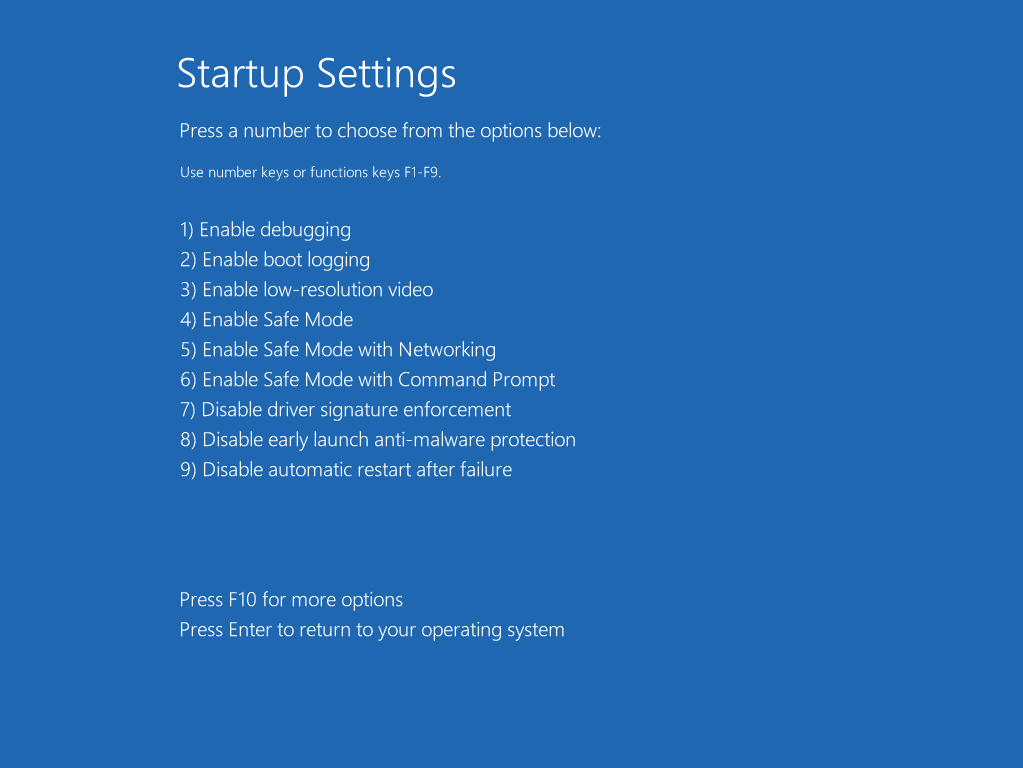
- Under Startup Settings, you will see the different versions of Safe Mode available.
![Select "Enable Safe Mode with Networking" under Startup Settings.]()
- Choose “Enable Safe Mode with Networking”.
- Windows will be in Safe Mode after restarting the system.


Then, if you are using the Windows 10 Pro edition, follow the next few steps to enable the Admin account feature:
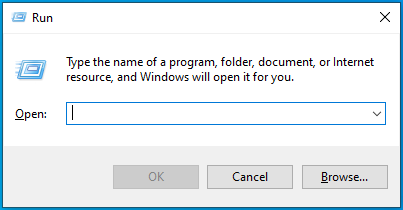
- Press the Windows logo and R keys simultaneously.
![Press the Windows logo and R keys.]()
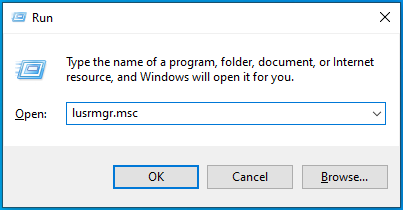
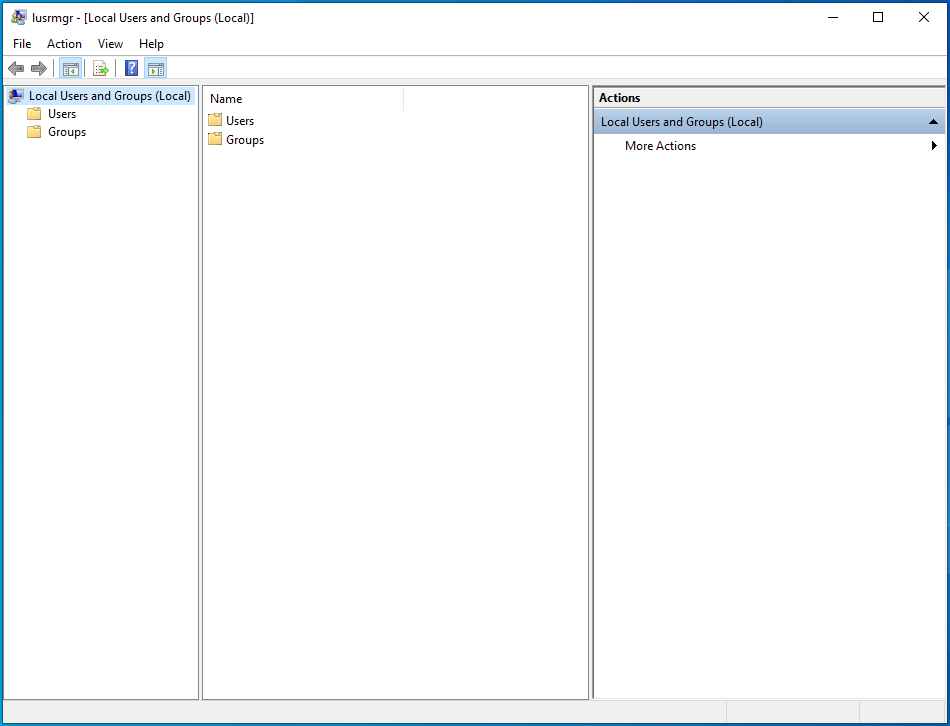
- Type “lusrmgr.msc” (no quotes) into the Run dialog box, and then click OK to run it.
![Enter “lusrmgr.msc” into the Run dialog box.]()
- The Lusrmgr (Local Users and Groups) menu will open. After that, double-click on Users and explore the faulty account.
![Double-click Users in the window.]()
- As the Properties menu comes up, check if the “Account is disabled” option is enabled. If it is, uncheck the box beside it.
- Lastly, click Apply > OK, and then check if your account has changed to the administrator account.
Alternatively, you can do the following:
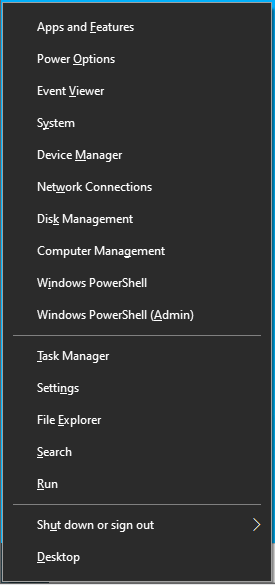
- Press the Windows + X shortcut to open the Power User menu.
![Launch the Power User menu.]()
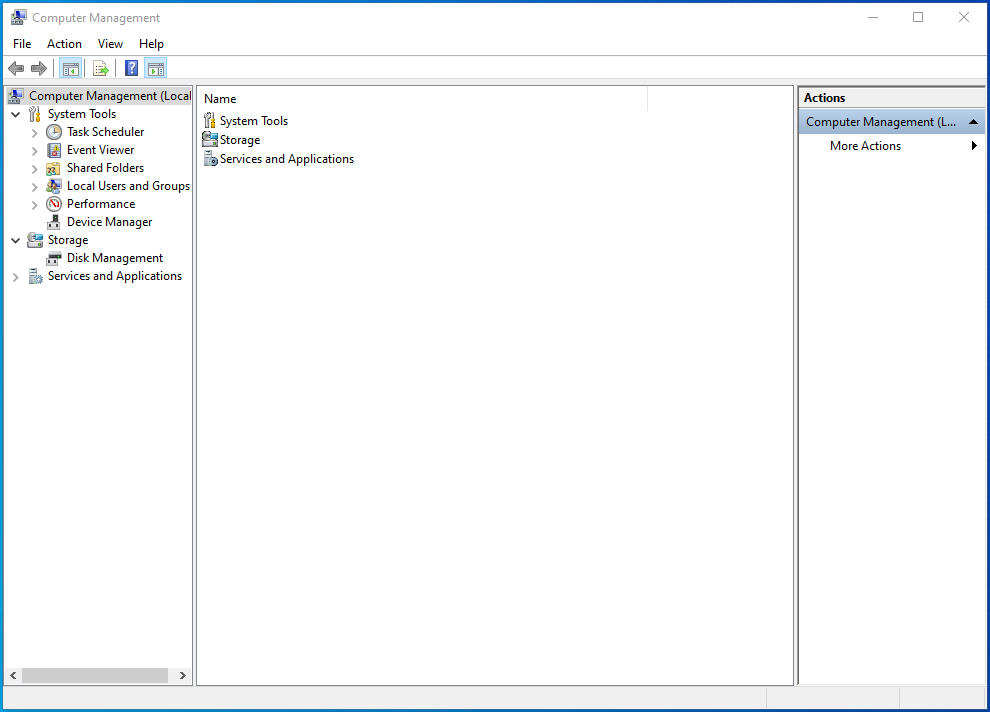
- On the displayed list, click on the Computer Management option.
![Navigate to the Computer Management option.]()
- On the next screen, navigate to Local Users and Groups > Users.
![Navigate to Users.]()
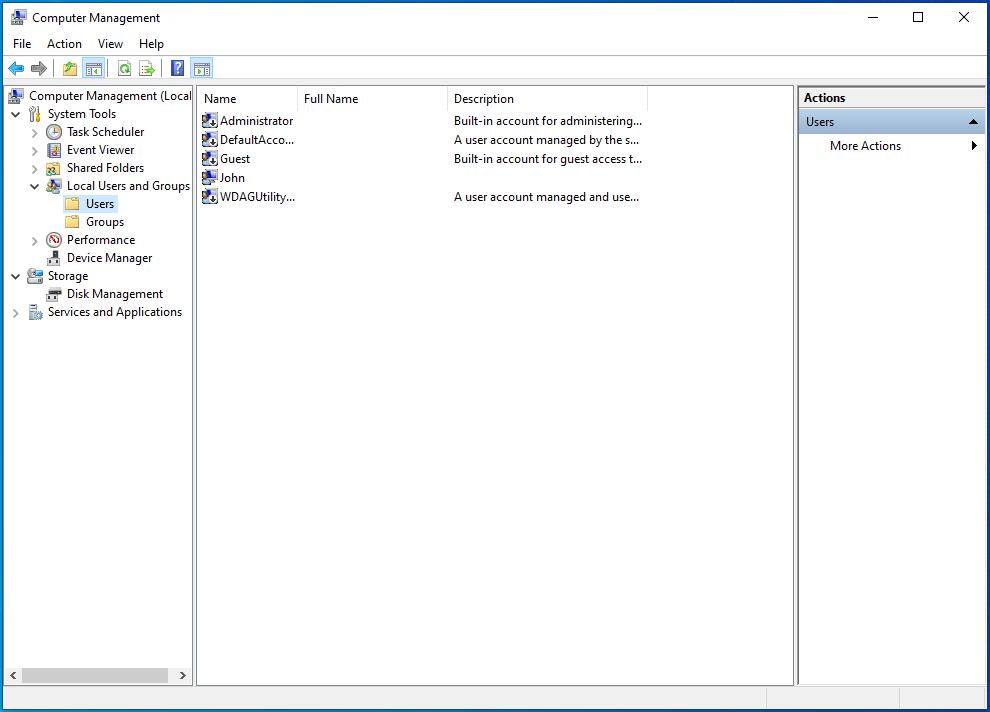
- Right-click on Administrator (see it on the right-hand side), and then pick the Properties option.
- Here again, uncheck the box beside the “Account is disabled” option.
Are you using a Windows 10 release other than the Pro edition? Did the above steps fail to work for you? If so, try any of the other methods below.
2. Use the Command Prompt
The Command Prompt is another way to enable the Administrator account on Windows 10. The method works for all versions of the OS, including the Home edition.
Here are the procedures to follow:
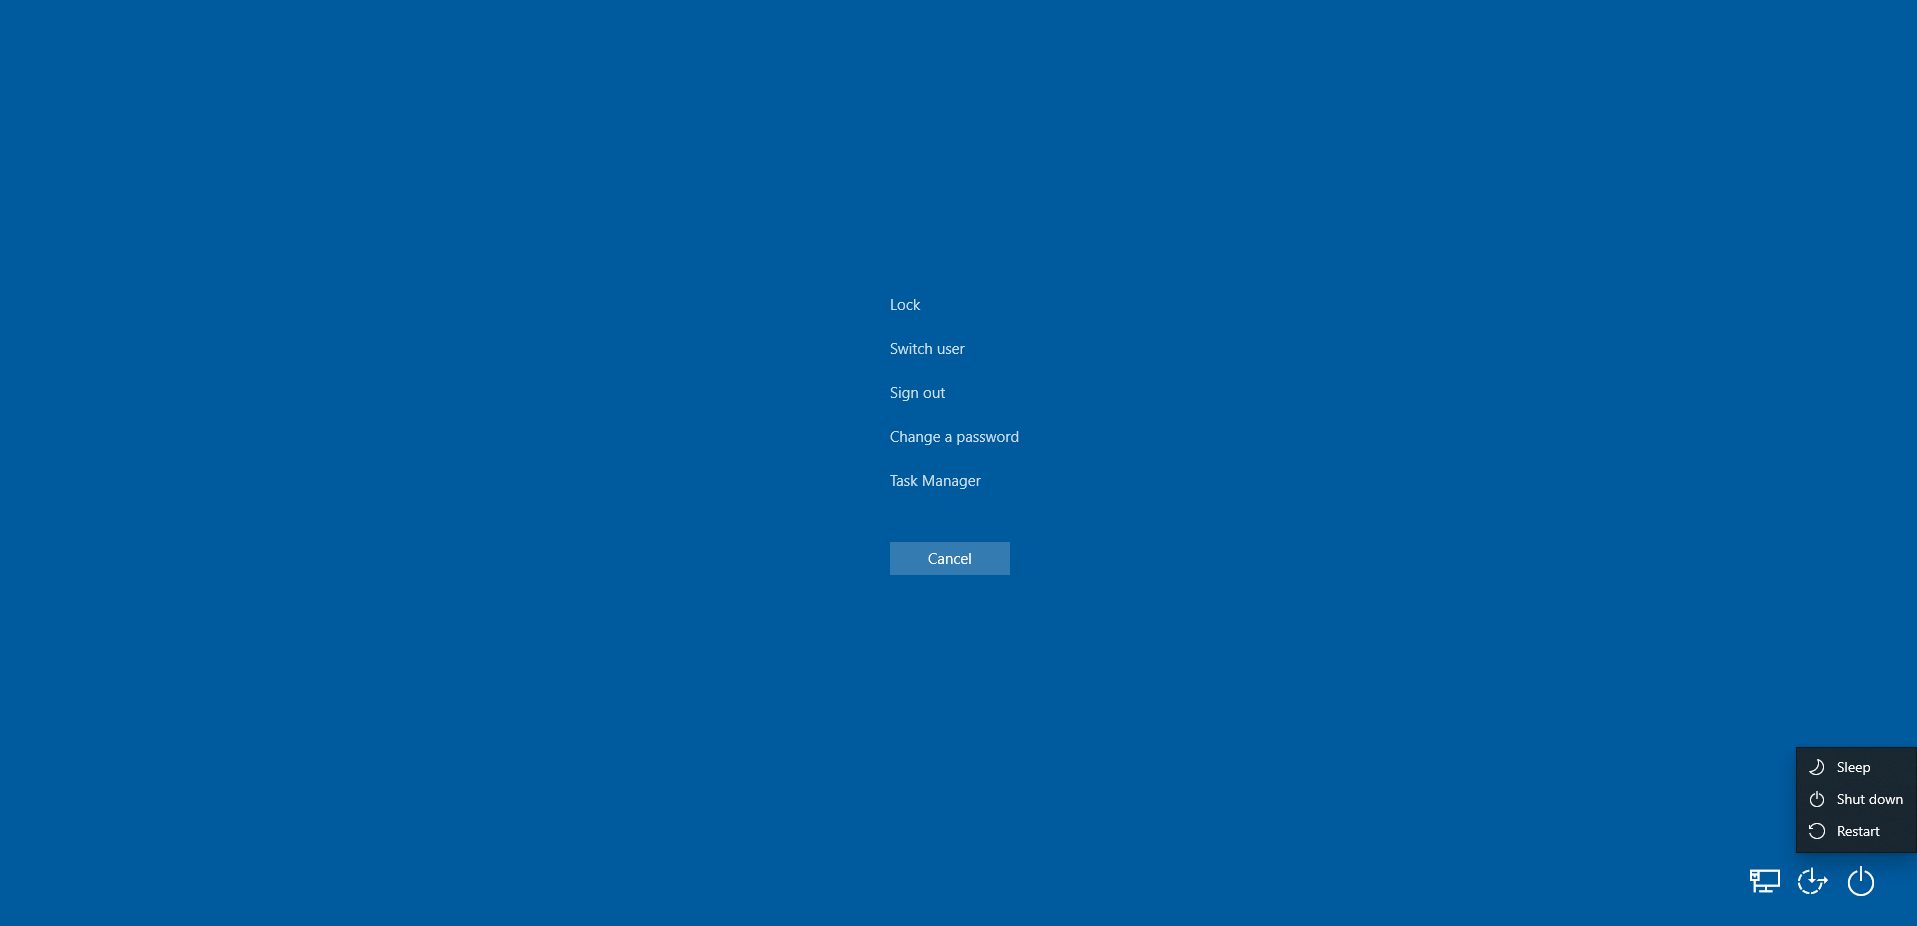
- Press the Alt + Del + Ctrl shortcut to invoke the login screen.
![Launch the login screen.]()
- Next, press the Shift key and click Restart. The computer will reboot in Advanced mode.
![Press Shift and click Restart.]()
- You will see several options displayed. Double-click on Troubleshoot.
![The "Choose an option" screen will appear.]()
- Now, click on Command Prompt under Advanced options.
- After that, copy-paste the text below into the open field of the new dialog box, and then hit Enter to run it:


net user administrator /active: yes (to enable the feature)
or:
net user administrator /active: no (to disable the feature)
6. After that, restart the PC and see if that resolves the issue.
If there’s no positive change, that’s not a problem. Try the next method.
3. Use the Registry Editor
You can use the Registry Editor to resolve faults within your computer system. However, you must know how to use the tool. Even the smallest mistake you make in the registry can lead to severe system malfunctions.
However, if you install Auslogics Registry Cleaner on your PC, you can feel safe when performing registry operations. With the tool, you can completely wipe out system registry issues.
That said, here are ways you can use the Registry Editor to enable the Administrator account feature on Windows 10.
The first approach:
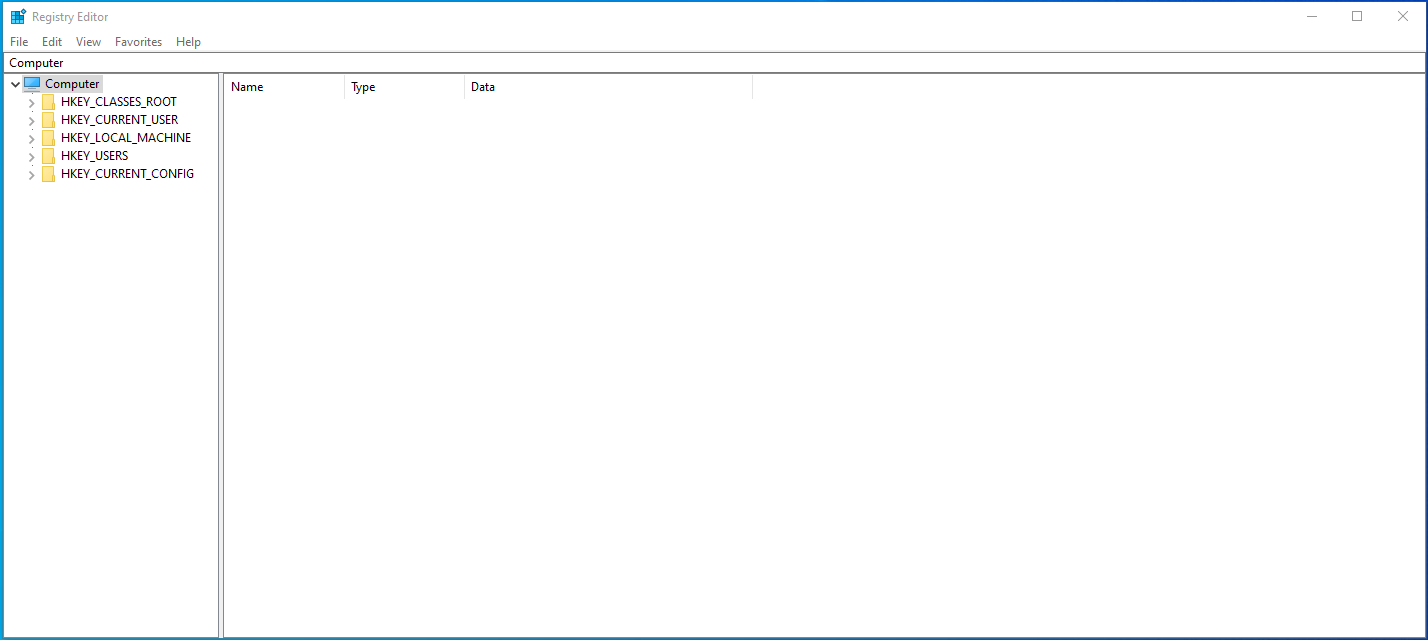
- Go to the Command Prompt window and type “regedit” (no quotes) to open the Registry Editor.
![The Registry Editor will open.]()
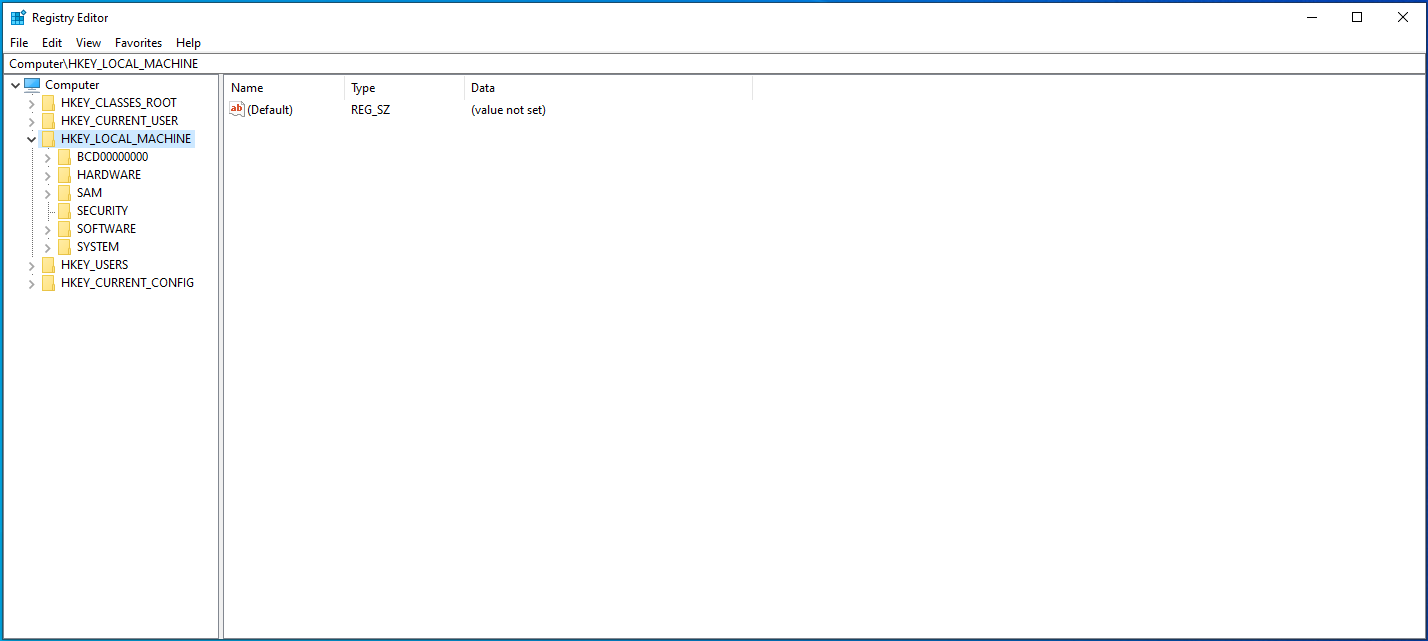
- On the left side of the editor menu, select the key named HKEY_LOCAL_MACHINE.
![Expand HKEY_LOCAL_MACHINE.]()
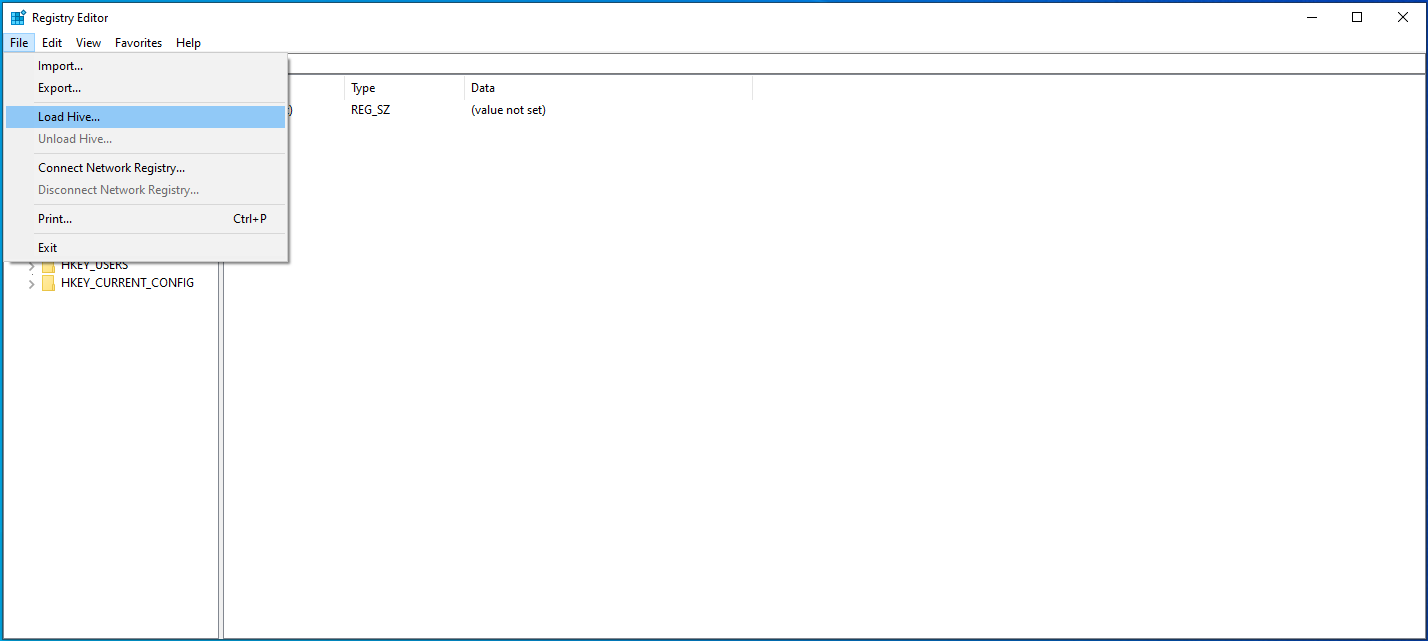
- Now, drag the mouse to the menu bar and navigate to File > Load Hive.
![Select File > Load Hive.]()
- At this point, you will need to access the drive where Windows 10 is installed on your PC. Check using this path: C:WindowsSystem32config.
- You should see a file named SAM. Open it.
- While you are still in Load Hive’s dialog box, copy-paste the following text and click OK: REM_SAM.
- Next, return to the Registry Editor’s window and go to the location HKEY_LOCAL_MACHINESAMSAMDomainsAccountsUsers00001F4.
- Select the 000001F4 key and then double-tap the F binary value on the right panel.
- Next, find the line for entry 0038. Once you locate it, change the default value from 11 to 10.
- Next, click OK and then exit both the Registry Editor and the Command Prompt.
- After that, reboot Windows 10 and check if the Administrator account has been enabled.
The second approach:
- On the Registry Editor home page, navigate to the following path: HKEY_LOCAL_MACHINE > SOFTWARE > Microsoft > Windows NT > CurrentVersion > Winlogon > SpecialAccounts > UserList.
- Under the last tab, right-click on the UserList option.
- In the pop-up menu, expand New and select DWORD_Value.
- Use “Admin” as the name of the value and hit Enter.
- Exit the editor and reboot the computer.
Your Administrator account should be active now. You can turn it off by deleting the value you created. However, if neither of the fixes worked, try modifying a few security policies on your PC as explained in the next method.
4. Use the Group Policy Editor
You can use the tool to modify and reset users’ accounts on your device. You can also use it to repair a disabled Administrator account on Windows 10.
See the steps here:
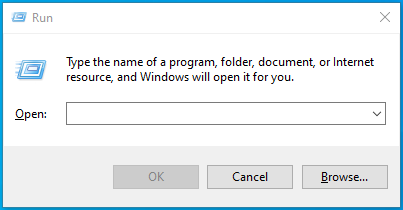
- Press the Windows key + R shortcut to open the Run dialog box.
![Open the Run dialog box.]()
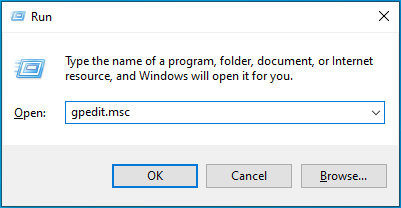
- Type “gpedit.msc” (no quotes) into the text field and click OK to start the Group Policy Editor.
![Enter “gpedit.msc” (no quotes) into Run.]()
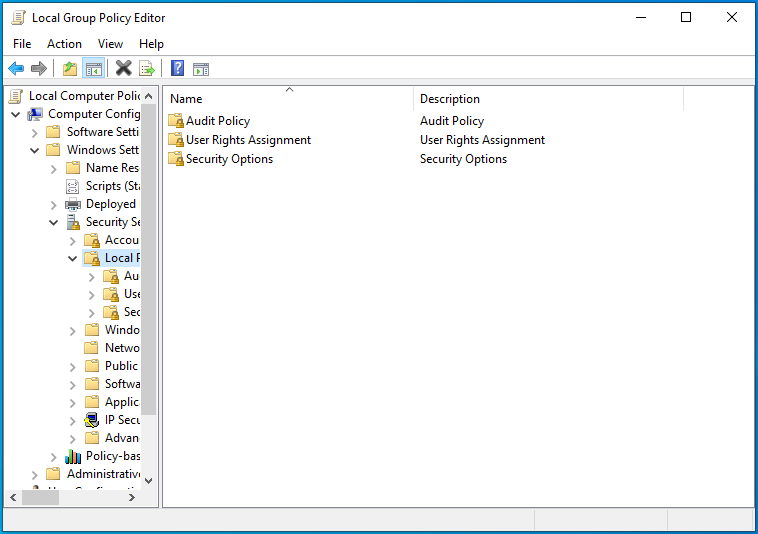
- Use the following path to locate the local policies: Local Computer Configuration > Windows Settings > Security Settings > Local Policies.
![Go to Local Policies > Security Options.]()
- Under this tab, double-click on Security Options.
- On the right pane, go to Accounts: Administrator Account Status.
- Double-click to view its properties and set it to Enabled.
- Lastly, click OK > Apply and then exit the editor.
(Note: You cannot carry out the above procedures if you are using the Windows Home edition. Try the next option instead.)
5. Use Windows PowerShell
This is also another way to enable a hidden Windows 10 Administrator account. Besides, Windows PowerShell is similar to Command Prompt but a bit more advanced.
With that said, try the following steps:
- Press the Windows key + X shortcut to evoke the Power User menu and select the PowerShell (Admin) option.
![Evoke the Power User menu.]()
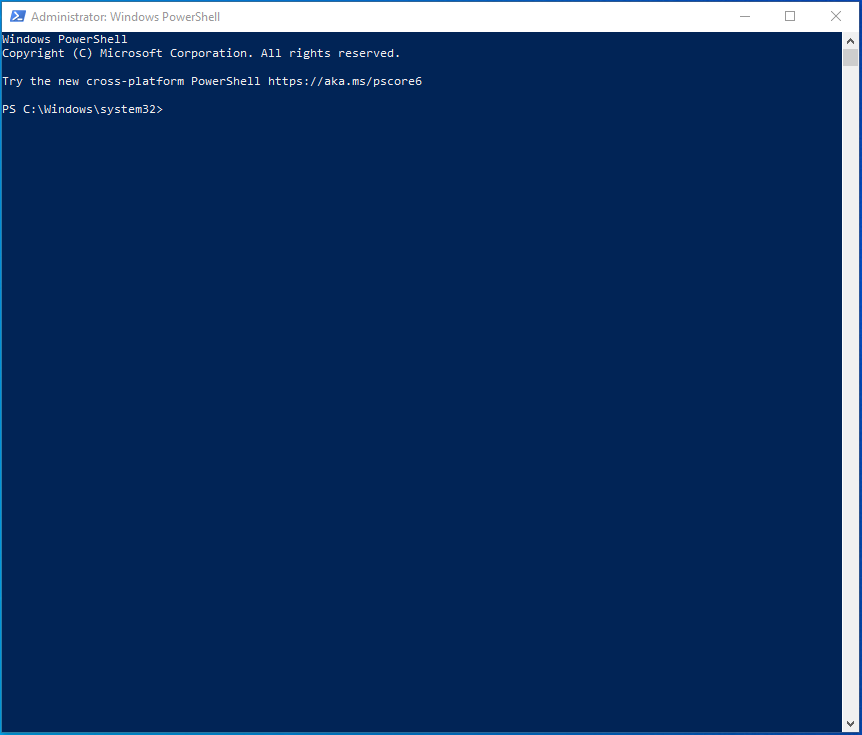
- Alternatively, type “PowerShell” (no quotes) into the Search bar and use the Run as Administrator option to open it.
![Run PowerShell as an admin.]()
- Then, copy the command line below, paste it into the PowerShell window and hit Enter:

Enable-LocalUser -Name “Administrator” (to enable the admin account)
Disable-LocalUser -Name “Administrator” (to disable the admin account)
4. After that, you can access the Administrator account. Go ahead to close the PowerShell window.
Note: If you are using a non-English Windows version, the commands above may not work.
6. Configure a Fresh User Account
If all the methods above failed to work, you might be able to resolve the problem by converting a new user account into an administrator account.
Here is how to do that:
- Go to the Accounts section under the Settings window.
- Click on “Family & other users” (on the left panel).
- On the right panel of the next screen, click on the “Add someone else to this PC” option.
- If prompted with a confirmation request, select “I don’t have this person’s sign-in information”.
- Next, click on “Add a user without a Microsoft account”.
- Type in a name for the account and then click Next.
- Again, return to the Family & Other users menu screen.
- You will see the new account on the right side. Double-click it and select “Change account type”.
- In the dialog box that appears, set the account type to Administrator and tap on OK.
After that, your new Administrator account should be ready for use. You can log in without a password.
Conclusion
After reading through this article, you should know how to enable or disable the Administrator account on Windows 10.
Did you find this guide useful? Kindly let us know in the comments section.