

- Check Hellpoint’s System Requirements
- How to Fix Launch Issues in Hellpoint
- Conclusion
If you’re looking for how to get rid of Hellpoint crashes on Windows 10, you’ve come to the right place. We’ve compiled a list of tips that will help you resolve the issue and also show you how to prevent Hellpoint from crashing in the future.
Check Hellpoint’s System Requirements
Playing a game on a system that doesn’t meet its minimum requirements is almost sure to result in errors and other problems. You’ll also have to deal with lags and occasional crashes if you go for high graphics settings on a computer that merely satisfies the minimum requirements.
You’ll find Hellpoint’s minimum and recommended system requirements below. The info should inform your decision on whether or not to run the game on your PC.
Minimum requirements
CPU: 4 threads; 2.5+ GHz
Operating System: Windows 7 (64-bit)
GPU: GeForce GTX 760 or similar
RAM: 4GB
Storage: 6GB of available space
DirectX: Version 11
Recommended requirements
CPU: 4 cores; 3+ GHz
Operating System: Windows 10 (64-bit)
GPU: GeForce GTX 1050 or better
RAM: 6GB
Storage: 6GB of available space
DirectX: Version 11
Grant the game admin rights
Even if you’re on an admin user account, some of your programs don’t have the right to use certain system resources. Windows restricts access to them by default for security reasons. But you can provide admin rights to your apps.
If Hellpoint doesn’t have access to some protected system resources, it’ll encounter problems. So, run it as an administrator and check if that resolves the problem. You should also grant admin privileges to the Steam client while you’re at it.
Follow these steps:
- Right-click on Hellpoint’s shortcut. If you don’t have a shortcut for the game, launch a File Explorer window and search for its installation folder.
- Right-click on the game’s executable file and click on Properties.
- Once the Properties dialog window opens, go to the Compatibility tab.
- Tick the box for “Run this program as an administrator.”
- After that, click on OK.
- Use the same steps to grant Steam admin access.
- Restart your device, and run the game to check if the problem has been resolved.
Make sure the game’s files are intact
Game files are critical to gameplay. If one or more files go missing or corrupt, you’re in for a barrage of errors and crashes. You can make sure things are in order by verifying the integrity of your game files in Steam. You can also do that in GOG Galaxy and Epic Games Launcher.
We’ll show you what to do in both applications.
How to verify your game files in GOG Galaxy:
- Open the Start menu, search for GOG Galaxy, and open the client.
- After the app shows up, go to the Library section.
- Click on Hellpoint.
- Next, go to the More drop-down menu.
- Place your mouse cursor over the “manage installation” option and click on “Verify/Repair.”
- Click on VERIFY GAME once the confirmation dialog pops up.
- The client will now scan the game’s files and replace those that are broken or missing.
How to verify your game files in Epic Games:
- Open the Start menu, search for Epic Games Launcher, and open the client.
- After the app shows up, go to the Library section.
- Locate Hellpoint and click on the three dots.
- Click on Verify once a drop-down menu appears.
- The client will now begin to scan the game’s files. It will automatically replace any faulty or missing file it detects during the scan.
How to verify your game files in Steam:
- Restart your device.
- After the computer starts, launch the Steam client.
- Go to Hellpoint’s library page once the Steam client opens.
- Click on Manage and select Properties.
- After the Properties page opens, go to the Local Files tab.
- Under Local Files, click on “Verify integrity of game files.”
- The program will now search for faulty and missing files in Hellpoint’s folder.
Note that the duration of the scan depends on your system’s speed and internet signal strength.
- After the process is complete, restart Steam and launch Hellpoint to check for the problem.
Install the game’s latest update
It’s common practice for game developers to release hotfixes for errors reported by the community if they want their projects to be successful. It could be a category of users with the same graphics card, laptop or desktop manufacturer, CPU, or even headphones.
Head to Cradle Games’ website to check for the latest patches and hotfixes for Hellpoint. If that doesn’t work out, go to the next solution.
Stop antivirus interference
Antivirus programs don’t always play nice with video games. They often consider them security threats due to their high use of system resources and need to access protected system files. Your protection program could be blocking Hellpoint and causing it to crash.
You can remedy the situation by adding the game to the antivirus program’s whitelist. In some antivirus programs, like Kaspersky, you’ll be adding the game to the whitelist, while in others, you’ll be adding the game as an exclusion or exception. Whatever the option, you should easily find it in the Settings interface. You can check the app’s website to find out how to do that.
If you don’t see the need to use a third-party antivirus program because you’re confident in Windows Security, you should know that the security suite could also be blocking the game. Which is why it also has the Exclusions feature. Follow these steps to add Hellpoint as an exclusion in Windows Security:
- Go to the right side of your taskbar and click on the “Show hidden icons” arrow.
- Click on the white shield after the hidden icons appear.
- If you don’t see the white shield in the system tray, open the Start menu, type “Windows security,” and click on the first search result.
- After the Windows Security app shows up, click on Virus & Threat Protection.
- Once you see the Virus & Threat Protection window, go to the Virus & Threat Protection Settings section and click on Manage Settings.
- The Virus & Threat Protection Settings window will now appear.
- Scroll down to Exclusions and click on “Add or remove exclusions.”
- After the Exclusions page appears, click on “Add an exclusion” and click on Folder.
- The Select Folder dialog window will now pop up.
- Navigate to the game’s installation folder and select it.
- After that, restart your system and launch Hellpoint to check for the error.
Allow Hellpoint through your firewall program
If you’re not connected to the internet, you can play Hellpoint in offline mode just fine. However, if you’re hooked to a co-op mission or any other multiplayer gameplay, the game can crash on you if your firewall revokes access.
Sometimes, firewall programs block applications they consider threats. If Hellpoint is using a huge chunk of your network bandwidth, the security program might step in.
You can prevent this from happening again by allowing the game through the firewall program. You can do that through Windows Defender Firewall if that’s your main firewall. These steps will show you how to apply the fix:
- Go to the taskbar and click on the magnifying glass icon or press the Windows logo and S keys together.
- After the search function opens, type “firewall” and click on Firewall & Network Protection in the search results.
- Once you see the Firewall & Network Protection window, click on “Allow apps through firewall.”
- After the Allowed Apps window appears, click on Change Settings (you have to be on an administrator account for this to work).
- Next, locate Hellpoint under “Allowed apps and features” and check the two boxes to its right, under Public and Private.
- If the game isn’t on the “Allowed apps and features” list, you have to add it manually.
- Click on the “Allow another app” button in the bottom-right corner of the dialog.
- After the “Add an app” dialog window appears, go to the Path address bar and click on the Browse button beside it.
- Locate Hellpoint’s installation folder in the Browse dialog and double-click its executable file.
- After the game’s icon appears in the “Add an app” window, click on the Add button.
- Now, locate Hellpoint under “Allowed apps and features” and check the two boxes to its right, under Public and Private.
- Click on OK in the Allowed Apps dialog.
- Restart your system and launch the game to check for the problem.
Update your graphics card driver
Your GPU takes care of the heavy graphics processes that your CPU can’t handle. The device depends on its driver to properly communicate with your operating system and CPU. If the piece of software malfunctions in any way, you’ll experience consequences like errors and crashes.
Updating your driver software is the best way to resolve driver-related problems. But you have to do it right. It’s recommended that you get rid of the current driver and perform a clean installation of the updated version.
So, follow these steps to get rid of your current GPU driver:
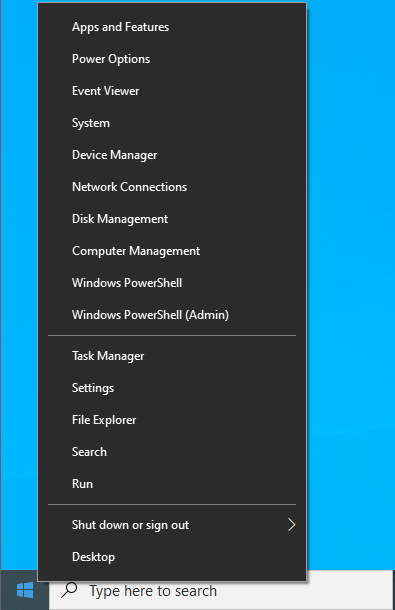
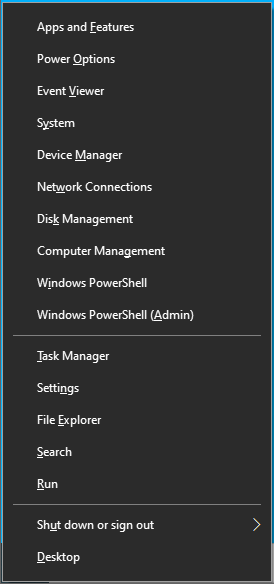
- Press Win + X or right-click the Windows logo in the taskbar.
![Open the WinX menu.]()
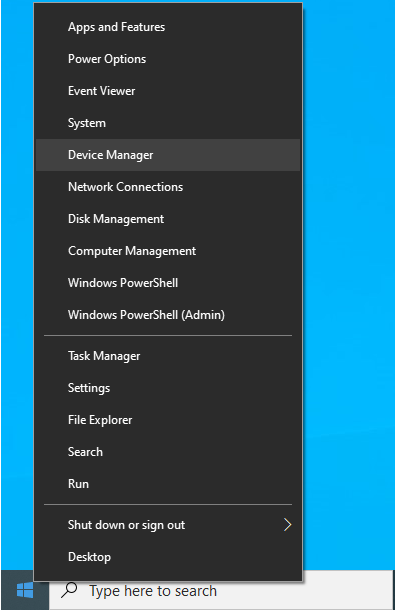
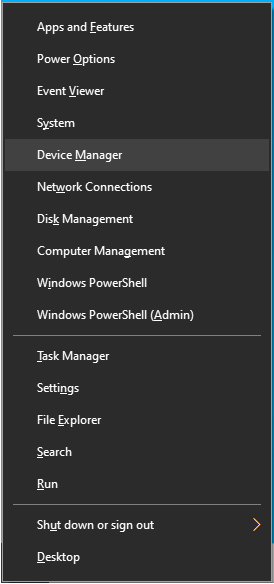
- Once the Power User menu pops up on the left side of your screen, click on Device Manager.
![Select Device Manager from the WinX menu.]()
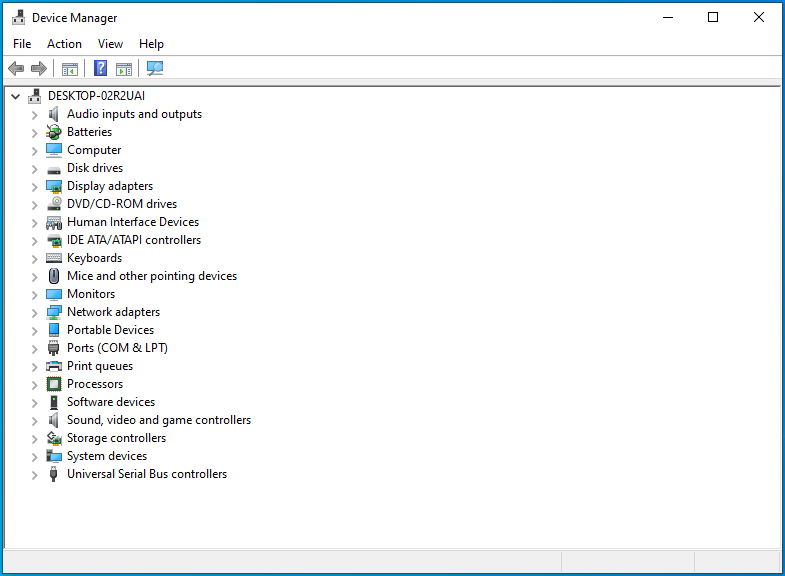
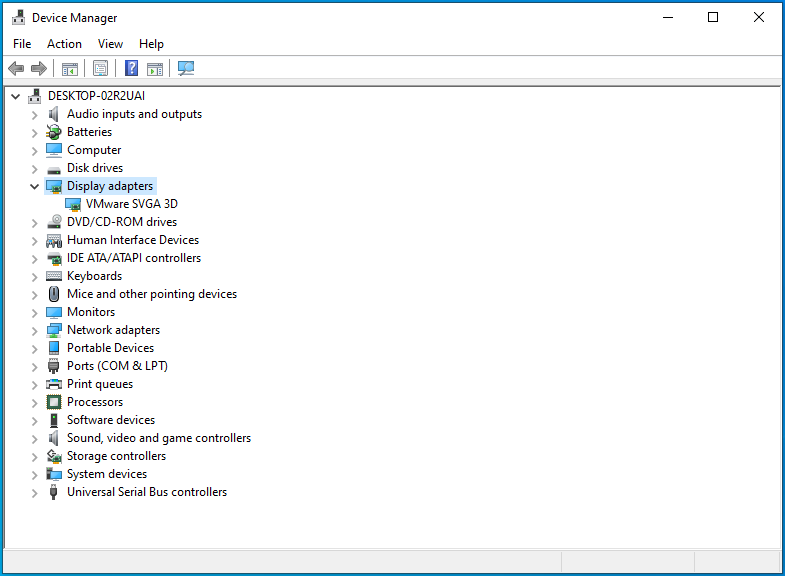
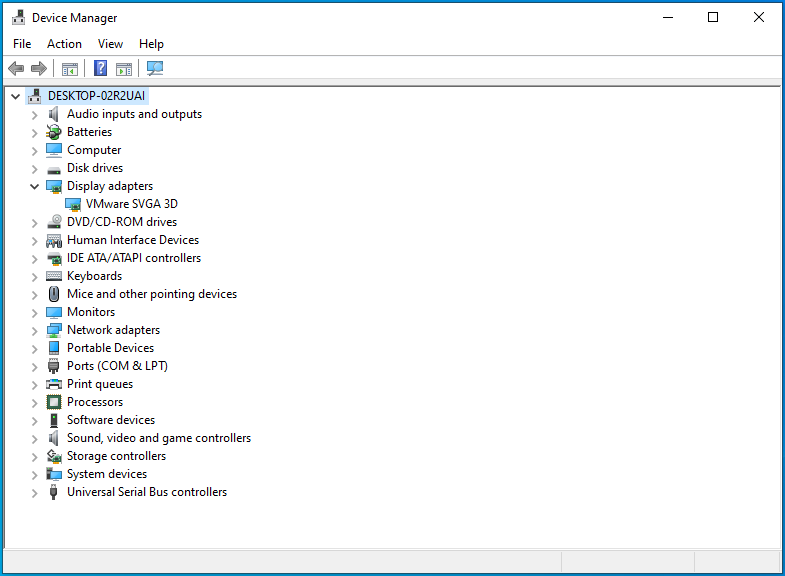
- The Device Manager window will open.
![Navigate the Device Manager utility.]()
- Click on the arrow next to the Display Adapters category once the Device Manager opens.
![Expand the Display Adapters category.]()
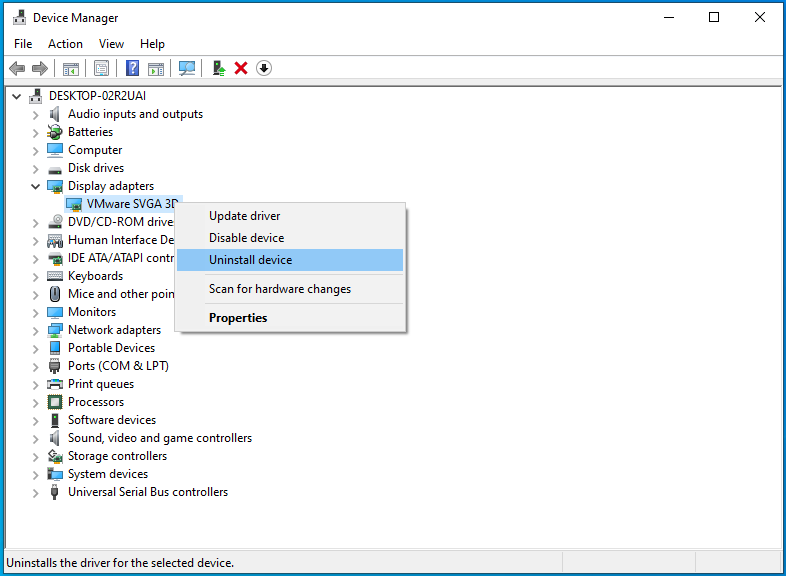
- Right-click on your GPU and click on Uninstall Device.
![Right-click your GPU and select Uninstall Device.]()
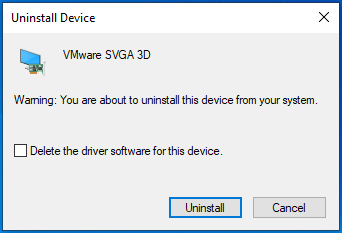
- You will see the Uninstall Device confirmation box.
![]()
- Check the box for “Delete the driver software for this device.”
![Check “Delete the driver software for this device.”]()
- Click on the Uninstall button.
![Click on the Uninstall button.]()
- After that, restart your computer.


Once your computer reboots, the operating system will attempt to reinstall the GPU’s driver. It will likely succeed in installing the generic video driver. You can go ahead and download and install the updated driver.
There are three ways to update the driver: you can do it by using the Windows Update client, the Device Manager, or a third-party program.
Using the Windows Update client implies updating your system the good old way. Microsoft releases driver updates for devices it supports through the channel. While there’s no guarantee the client will install the latest version of your graphics driver, it’s worth a try.
Follow these steps if you don’t know how to update your system:
- Head to the Settings page by tapping the Win + I keyboard shortcut.
![Press the Win + I keyboard shortcut.]()
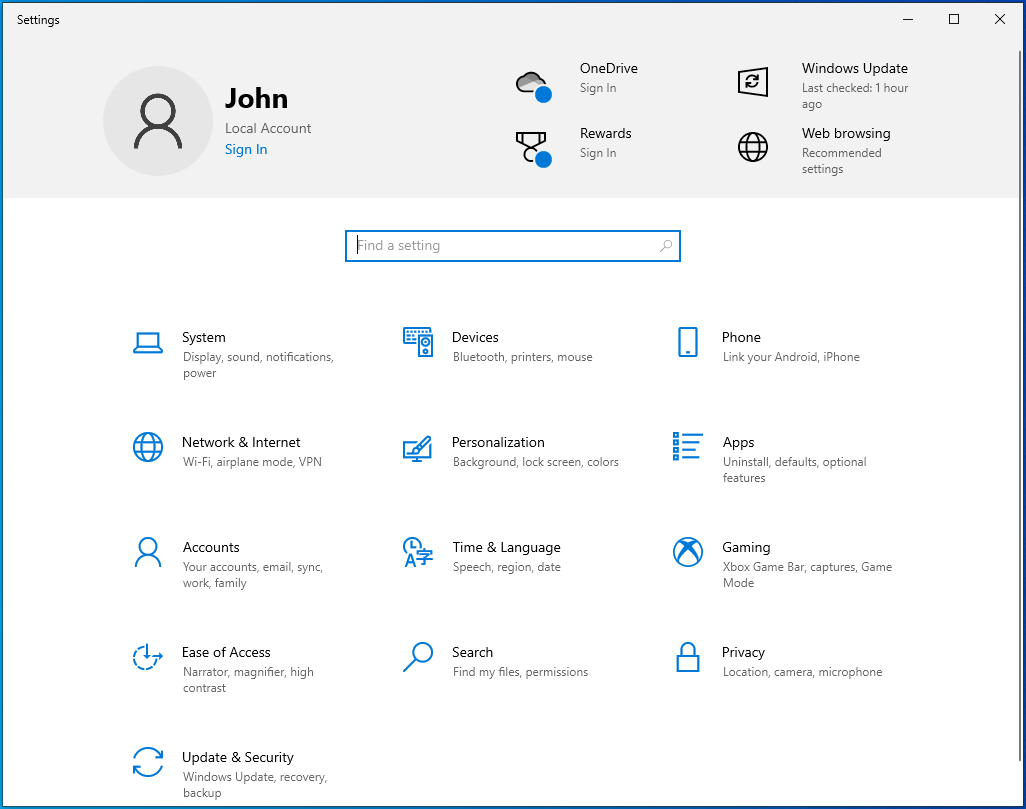
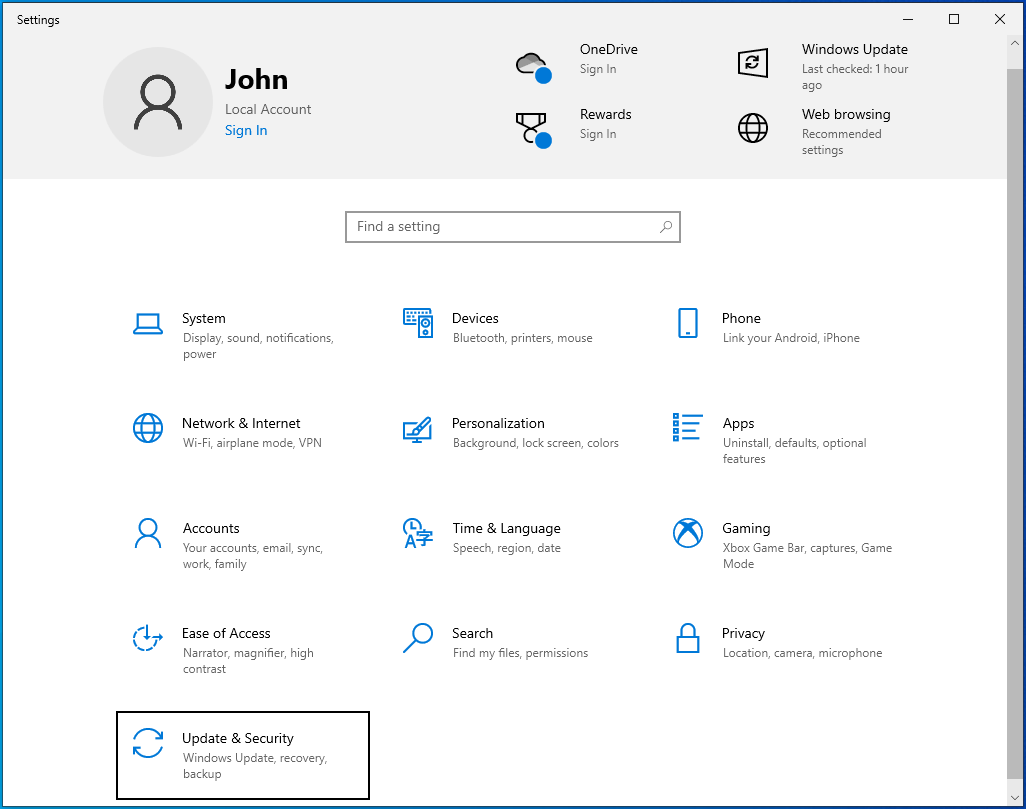
- After the Settings application shows up, go to the bottom of the page and click on Update & Security.
![Click Update & Security to open update settings.]()
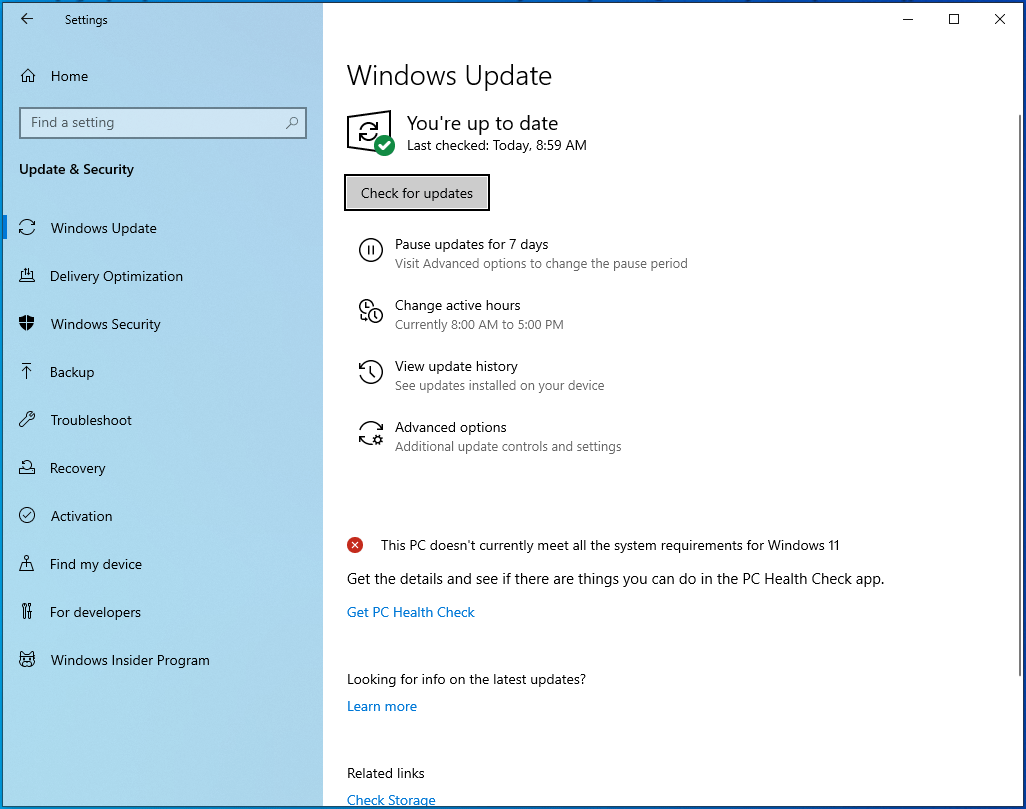
- Next, allow Windows Update to check for updates and download them.
![Check for updates using the Windows Update client.]()
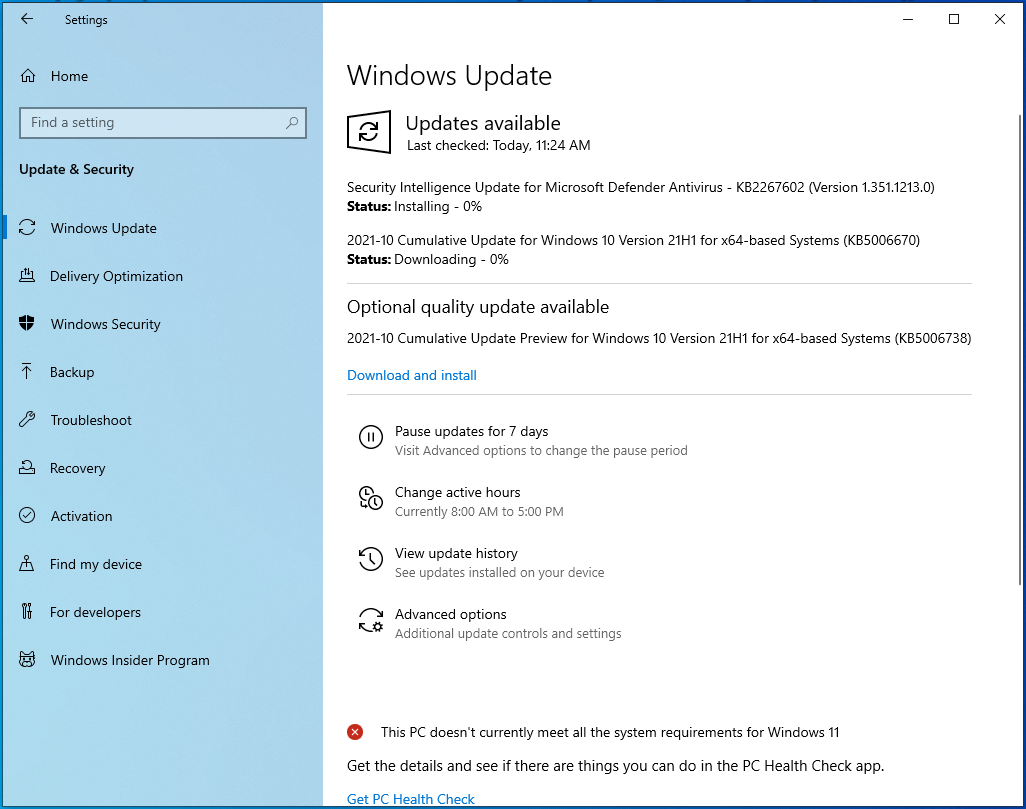
- You should notice the type of update being downloaded.
![Check what kinds of updates are being downloaded.]()
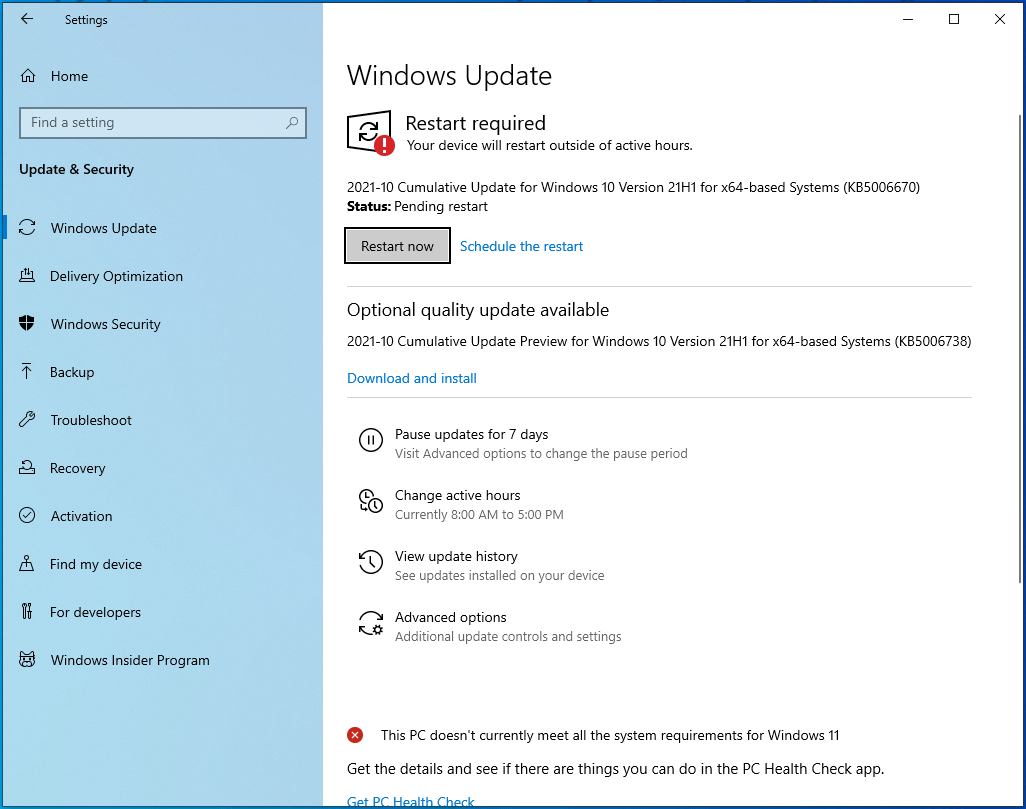
- Once the process is complete, you’ll have to allow the Windows Update client to restart your system and install the downloaded updates.
![Click on the "Restart now" button.]()
The next method is using the Device Manager. You’ll have to go to the card manufacturer’s website to download the latest driver, then install it via the Device Manager. Make sure you go to the official website and search for the driver that matches your GPU’s make and model and operating system architecture (32-bit or 64-bit).
Once you’ve downloaded the right driver package, follow these steps to install it:
- Press the Windows logo key + X shortcut or right-click the Windows logo in the taskbar.
![Launch the Windows + X Power User menu.]()
- Once the Power User menu pops up on the left side of your screen, click on Device Manager.
![]()
- Click on the arrow next to the Display Adapters category once the Device Manager opens.
![Expand Display Adapters.]()
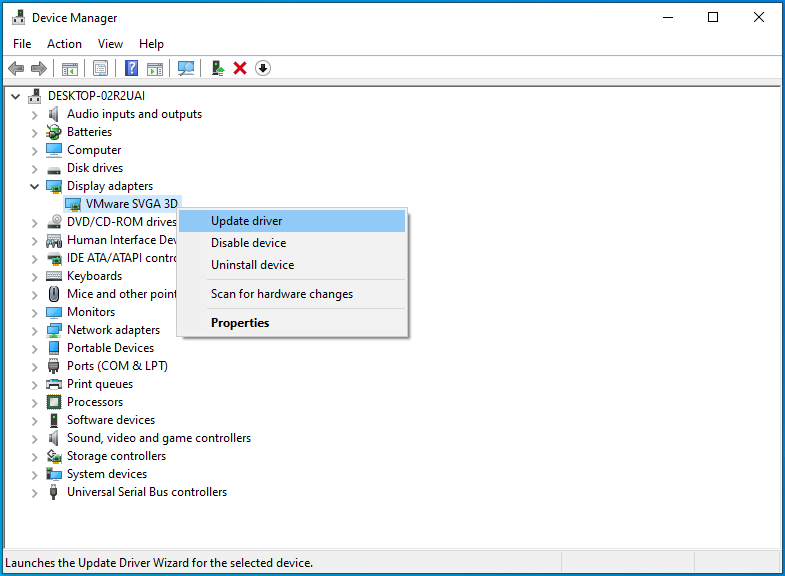
- Right-click on your GPU and click on Update Driver.
![Click "Update driver" from the pop-up menu.]()
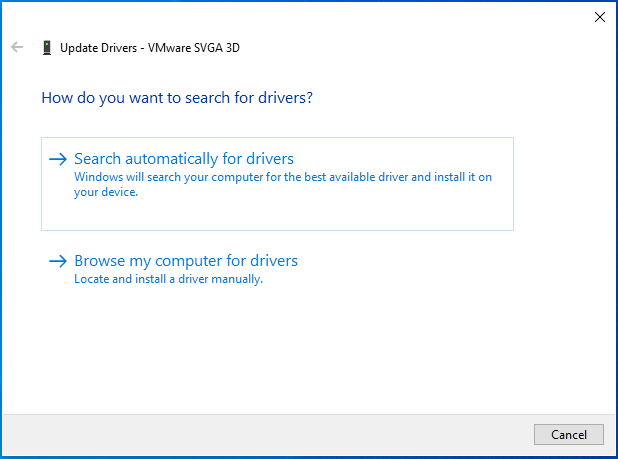
- After you see the Update Driver dialog window, select “Search automatically for drivers.”
![Select “Search automatically for drivers” to get your driver software updated.]()
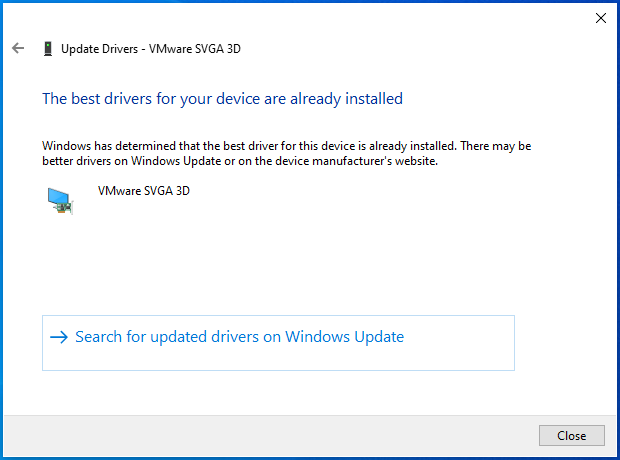
- Windows will now search your computer and install the driver package that you downloaded.
![Windows will inform you about the situation with your drivers.]()
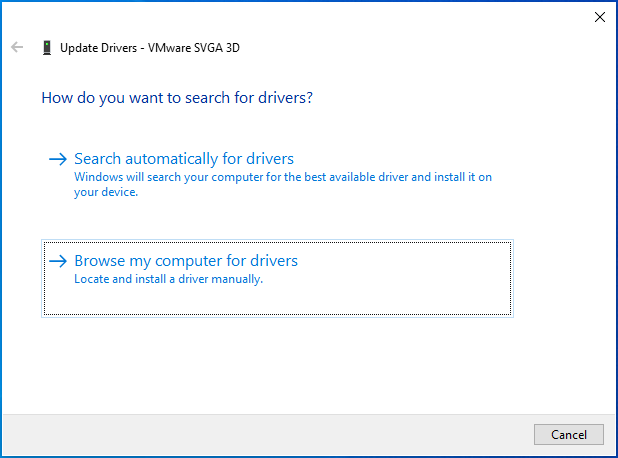
- If you want things to go faster, click on “Browse my computer for drivers.”
![Select “Browse my computer for drivers.”]()
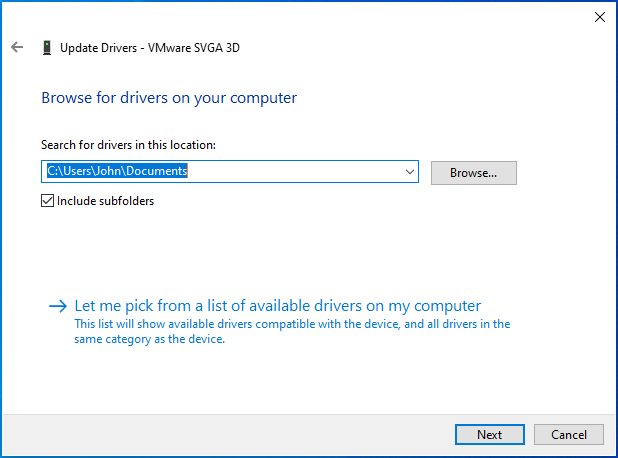
- Browse to the folder where you saved the driver package and click on OK.
![Browse your PC for the necessary drivers.]()
- Restart your system once Windows installs the driver, then launch Hellpoint and check for the crashing problem.
Using Windows Update doesn’t guarantee that you’ll update the driver, and going through the Device Manager can be stressful. Using Auslogics Driver Updater, however, is the easiest and most assured means of updating not just your graphics card driver but also other outdated and faulty device drivers on your computer.
The program will scour your system for problematic drivers and help you update them automatically.
Here’s how to use it:
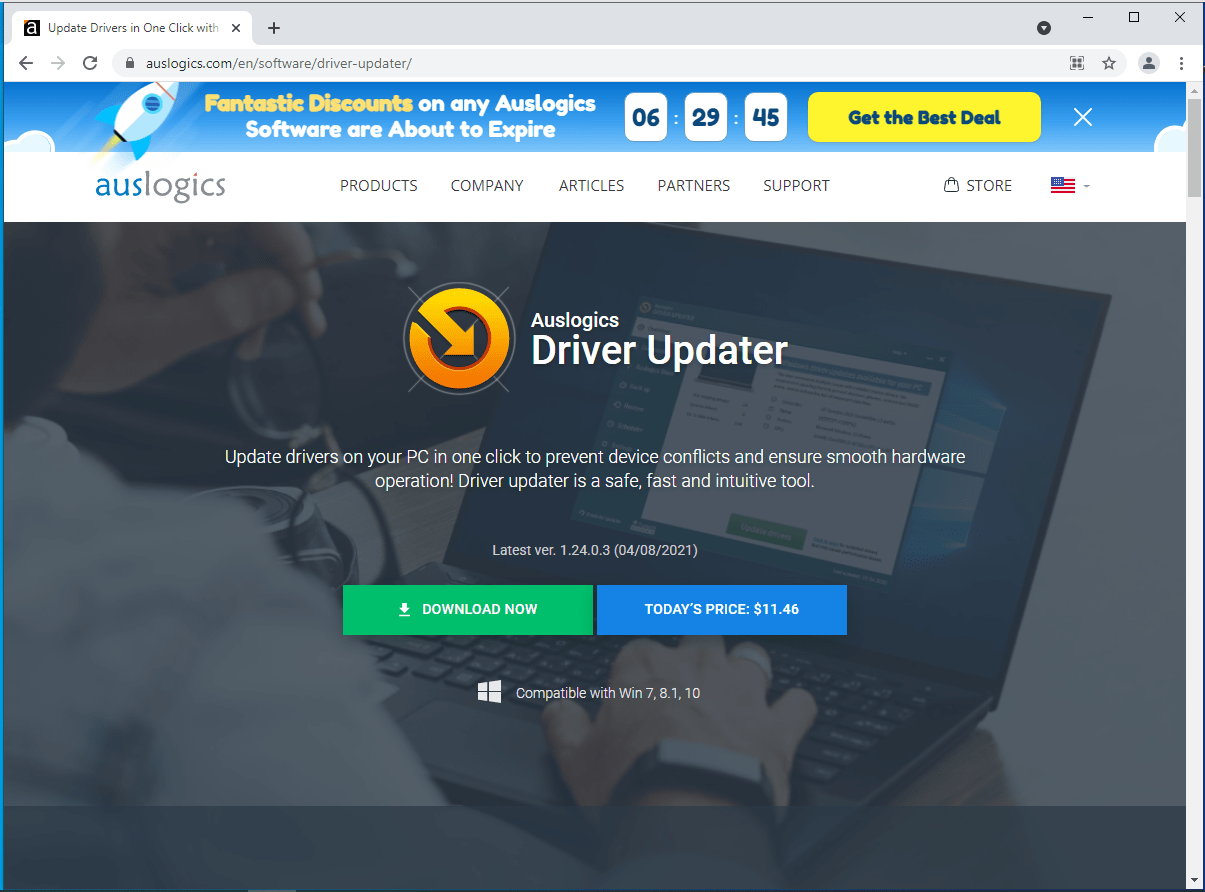
- Head to the program’s product page, click the Download Now button after the webpage opens, and open the installation package once your browser downloads it.
![Go to Driver Updater's page.]()
- Select Yes in the User Account Control dialog.
![]()
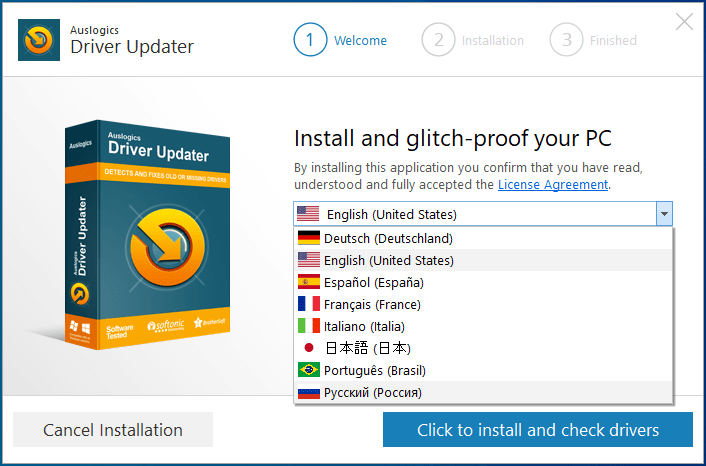
- Once Auslogics Driver Updater’s setup window appears, choose a language.
![Choose a language.]()
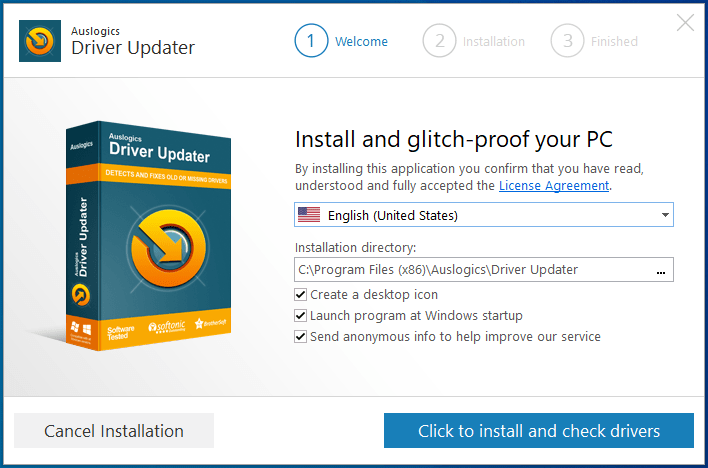
- After that, point the setup to your installation folder. If your main Windows drive has ample space, it’s recommended that you stick with the default installation location.
![Choose an installation folder for the program.]()
- Next, decide whether or not to allow the updater to launch at startup and send anonymous crash reports to its developers.
- After entering your installation preferences, click on “Click to install and check drivers.”
![Click “Click to install and check drivers.”]()
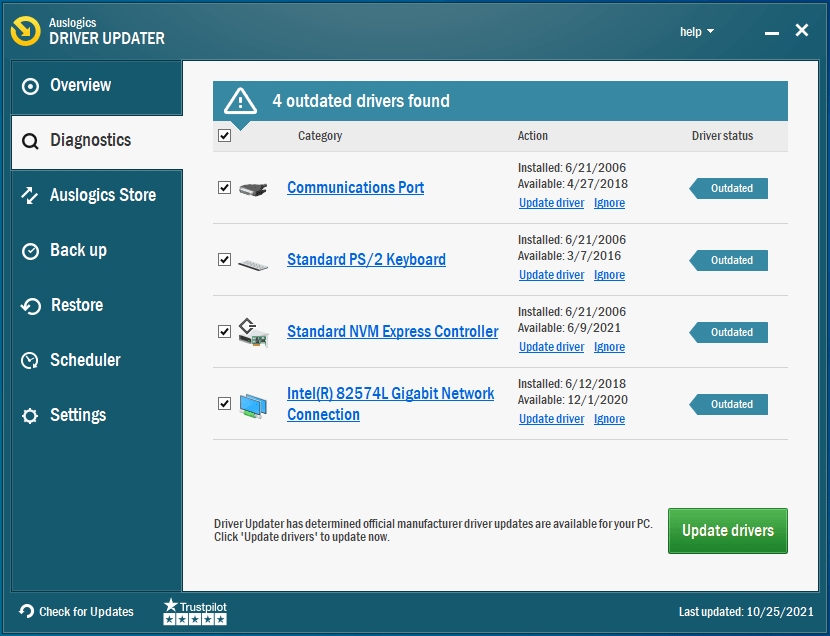
- The program will check for problematic device drivers after it’s installed.
![Click Finish to proceed with the installation.]()
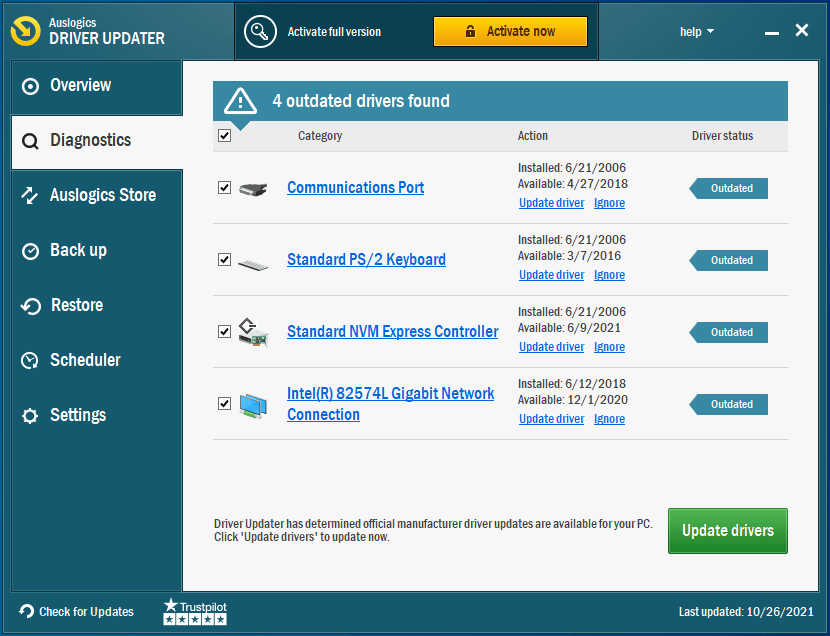
- Your video card driver will show up on the list of problematic drivers if it’s broken or outdated.
![Driver Updater will check your PC for outdated drivers.]()
- Click on “Update drivers” to start the update process.
![Click on "Update drivers".]()
- Remember that the tool can update other problematic device drivers on your system. If you want to download these updates at once, go for the utility’s full version.
- Once the update process is complete, restart your system and check for the crashing problem in Hellpoint.


Make sure the game runs on your dedicated GPU
Your laptop comes with two graphics cards: integrated and dedicated. Make sure the game isn’t running on the former. Sometimes, Windows directs every application’s graphics tasks to the integrated video card to conserve power. Since that GPU isn’t equipped to handle the graphics-intensive processes that come with running a game like Hellpoint, the game will keep crashing.
You can use the Settings program or your graphics card’s application to force your computer to run the game on the dedicated video card. We’ll show you how to use each program.
How to make the game run on your NVIDIA card:
- Open the NVIDIA Control Panel by right-clicking your desktop and selecting NVIDIA Control Panel from the context menu.
- After you see the program, head to the left pane and expand the 3D Settings category.
- Click on Manage 3D Settings.
- Next, go to the Global Settings tab on the right side of the window.
- Open the Preferred Graphics Processor drop-down menu and select High-performance NVIDIA Processor.
- After that, switch to the Program Settings tab.
- Navigate to the “Select a Program to Customize” drop-down menu.
- Choose Hellpoint from the program list.
- If you can’t find the game on the list, click the Add button next to the drop-down menu.
- Now, head to Hellpoint’s installation folder and choose its EXE file in the Browse dialog window.
- After adding the game manually, select it.
- Next, head to the drop-down menu under “Select the preferred graphics processor for this program” and choose High-performance NVIDIA Processor.
- Finally, click on the OK button and open Hellpoint to check if the crashing problem persists.
How to use AMD Radeon Settings to force the game to run on your dedicated AMD card:
- Right-click on your desktop.
- Click on AMD Radeon Settings in the context menu.
- Once the program opens, click on System in the top-right corner of the window.
- Click on Switchable Graphics in the top-right corner of the System page.
- You’ll see the Running Applications view once the Switchable Graphics page opens. This is where you can change the Switchable Graphics mode for programs that are currently open or those that were closed not so long ago.
- If Hellpoint isn’t on this page, go to the top-right corner of the window, select Running Applications under Switchable Graphics, and click on Installed Profiled Applications.
- Every program that AMD Radeon Settings can detect will show up on the next page.
- Go to Hellpoint and click on the arrow beside it. Select High Performance from the drop-down menu.
- You’ll have to manually add the game if you still don’t see it after clicking on “Installed Profiled Applications.” Click on Browse in the top-right corner of the window.
- After the Browse dialog window appears, find your way to Hellpoint’s installation folder and double-click its executable file.
- Now, change the game’s Switchable Graphics mode to High Performance.
Note: Choosing the High Performance mode for Hellpoint in AMD Radeon Settings will force it to run on your dedicated AMD GPU. Any power-saving policy employed by the operating system will be ignored.
How to use the Settings app to change Hellpoint’s default graphics card (this method will work for any GPU):
- Press Win + I to open Settings or click on the Start button and click the gear icon in the Start menu.
- When you see the main page of Windows Settings, click on the System icon.
- On the System interface, go to the bottom of the Display tab and click on Graphics Settings.
- After the Graphics Settings screen comes up, select Classic App from the “Choose an app to set preference” drop-down menu.
- Click on the Browse button.
- Once you see the Browse dialog box, navigate to Hellpoint’s installation folder and double-click its executable file.
- After that, Hellpoint’s icon will appear on the Graphics Settings screen, under the “Choose an app to set preference” menu.
- Click on the game and select Options.
- The Graphics Specifications dialog will now come up.
- You’ll see the details of your dedicated and integrated GPUs. The Power Saving GPU is the integrated video card, while the High Performance GPU is the dedicated device.
- Click the radio button for High Performance.
- After that, click on Save.
Note: If you go for the System Default option, your computer will determine which GPU to run the game on according to the current power mode.
How to Fix Launch Issues in Hellpoint
The fixes above show you how to fix the “Hellpoint crashing on startup in Windows 10” issue and other regular launch problems. However, if you only see a black screen on launch or nothing happens when you try to open the game, use the methods that follow if none of the above fixes has worked for you.
Switch between fullscreen mode and windowed mode
If you only see a black screen when you launch the game, switch to windowed mode (if you opened it in fullscreen mode), then switch back to fullscreen mode. Use the Alt + Enter combo to make the switch.
You can also switch to another app, then switch back to the game. Use the Alt + Tab combo to do that.
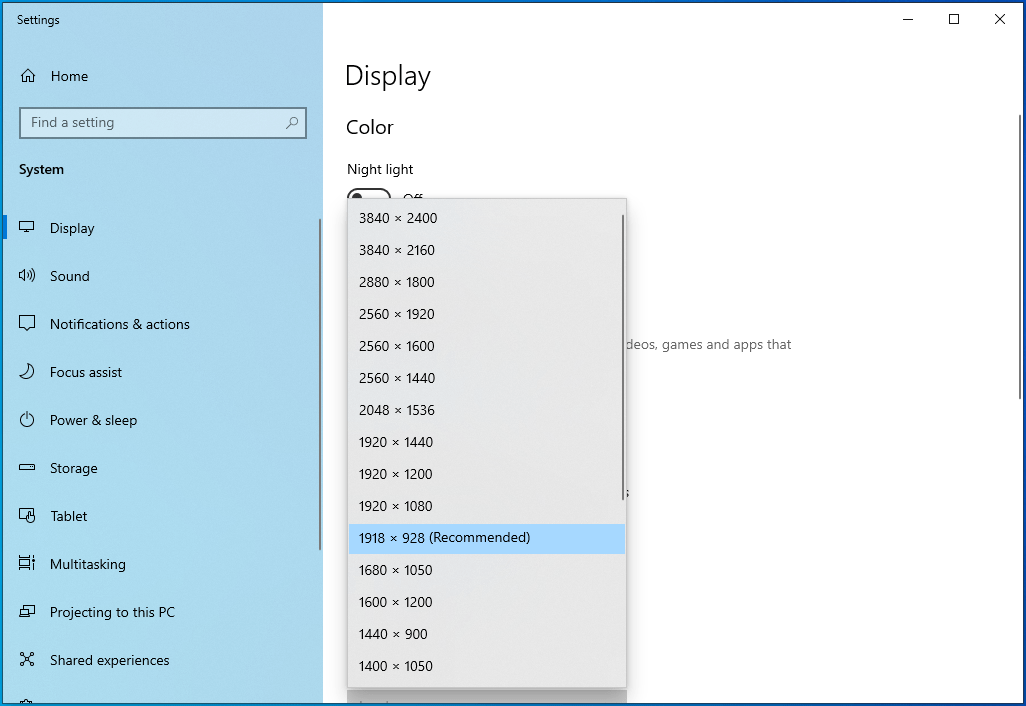
Change your screen resolution
Make sure you’re using your system’s recommended resolution. Doing this could help you get rid of the black screen issue.
Here’s how:
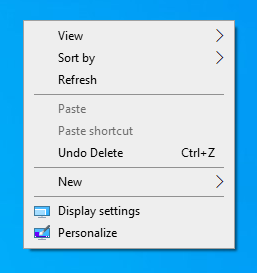
- Right-click on your desktop and click on Display Settings.
![Right-click on your desktop and select Display Settings.]()
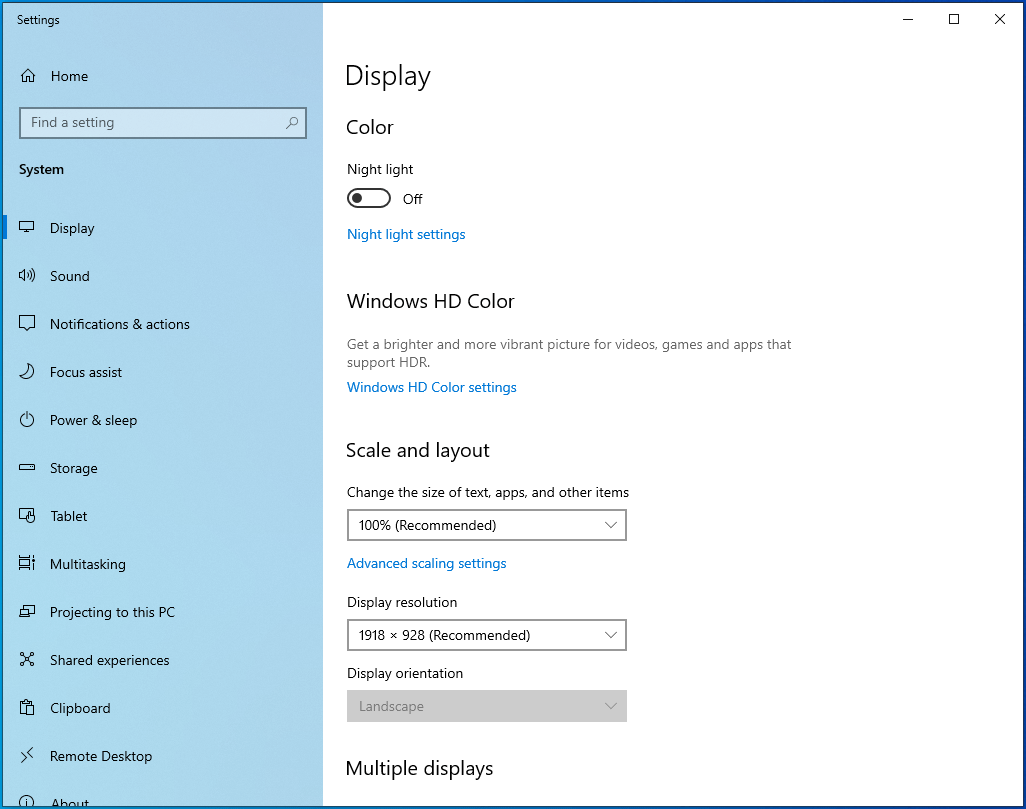
- After the Display interface shows up, go to the Scale and Layout section.
![Navigate to Scale and Layout.]()
- Select your recommended resolution under Display Resolution.
![Choose a resolution.]()
Perform a clean boot
A startup application could be the cause of the launch problem you’re experiencing. Sometimes, programs and services that automatically launch after Windows starts clash with other programs and prevent them from launching. To find out if this is the case, prevent those startup apps from launching after your next reboot by performing a clean boot, then check if Hellpoint runs properly.
If the game opens without problems, you can use the troubleshooting technique to find the program or service causing the launch failure.
Here’s how to perform a clean boot:
Disable startup services:
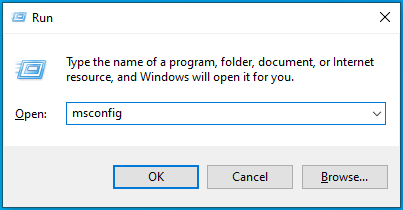
- Use the Windows + R keyboard combo to summon Run.
![Open the Run console using the Win + R shortcut.]()
- Type “msconfig” into the Run dialog box and click the OK button.
![Type “msconfig” into Run.]()
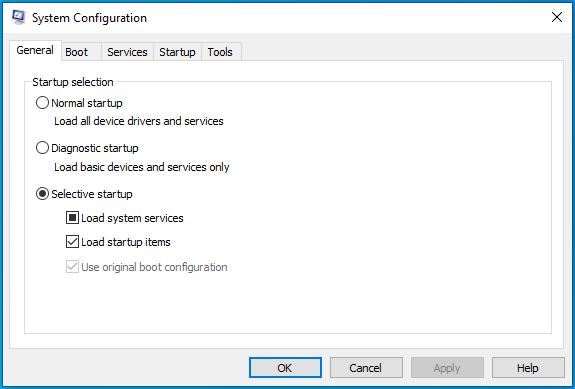
- The System Configuration window will show up.
![Navigate the System Configuration window.]()
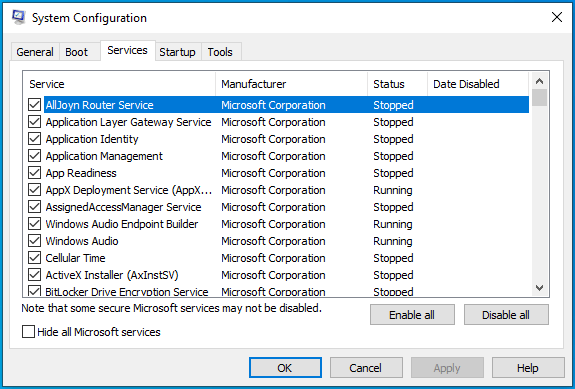
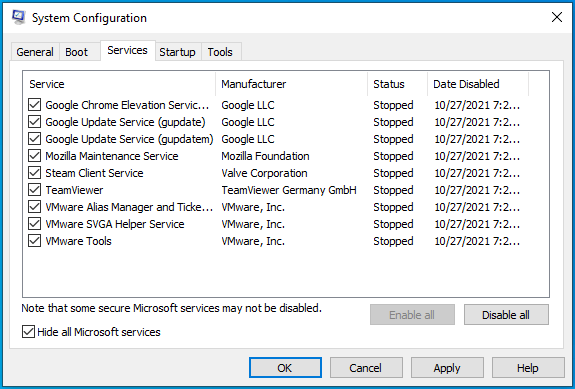
- Head to the Services tab.
![Navigate to the Services tab.]()
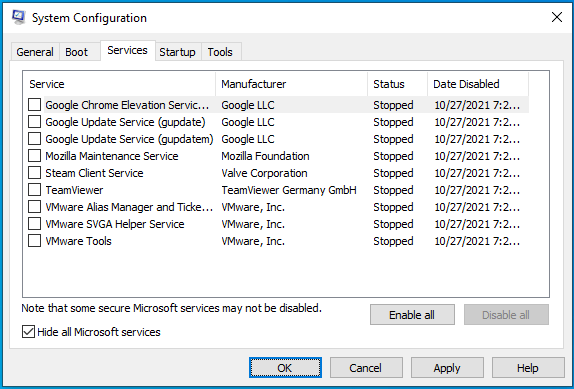
- Locate the “Hide all Microsoft services” checkbox under the Services tab, check it, and click on the Disable All button.
![Check “Hide all Microsoft services”.]()
- Click on OK.
![Click on Save to save your changes.]()

Follow these steps to disable startup programs:
- Use the Windows + I keyboard combo to open Settings.
![Press the Windows + I keyboard combo to open the Settings app.]()
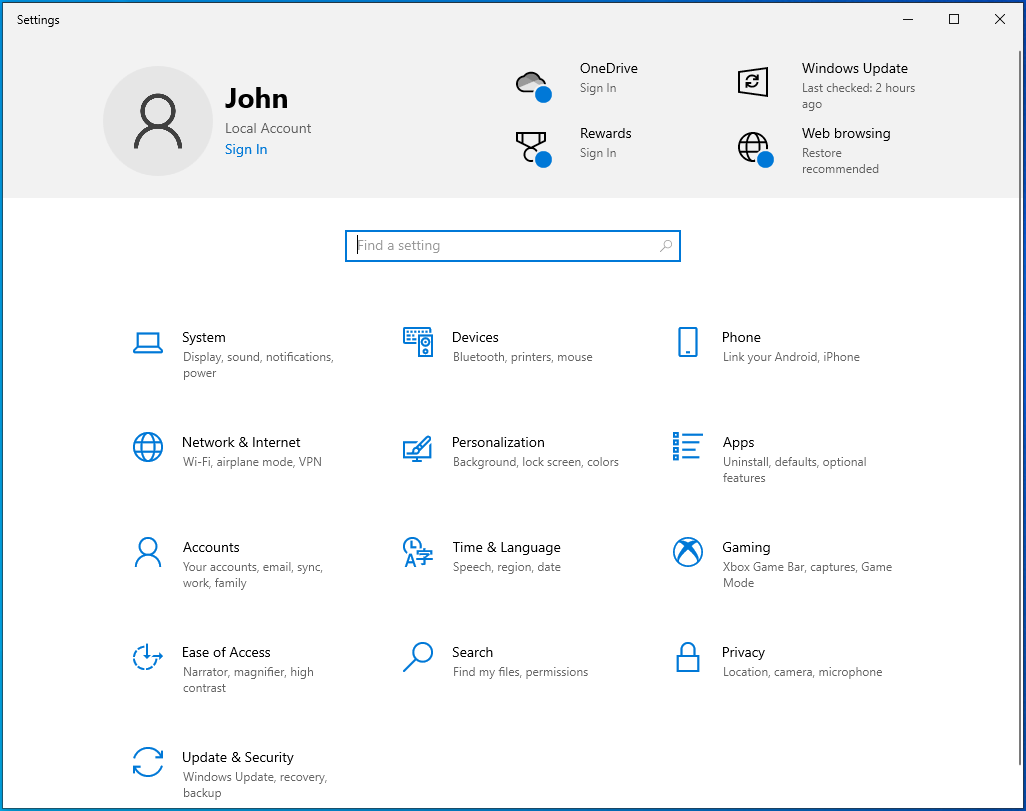
- After Settings shows up, click on Apps.
![Click on Apps in Settings.]()
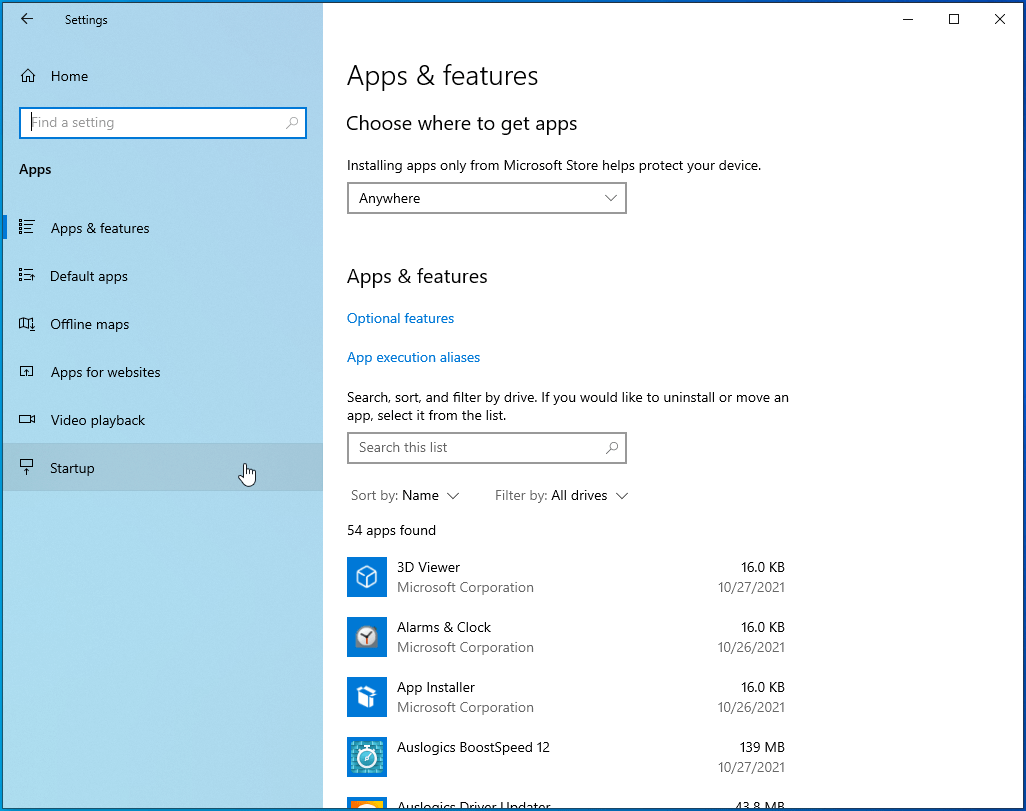
- Go to the left side of the Apps interface and click on Startup.
![Navigate the Apps interface and go to Startup.]()
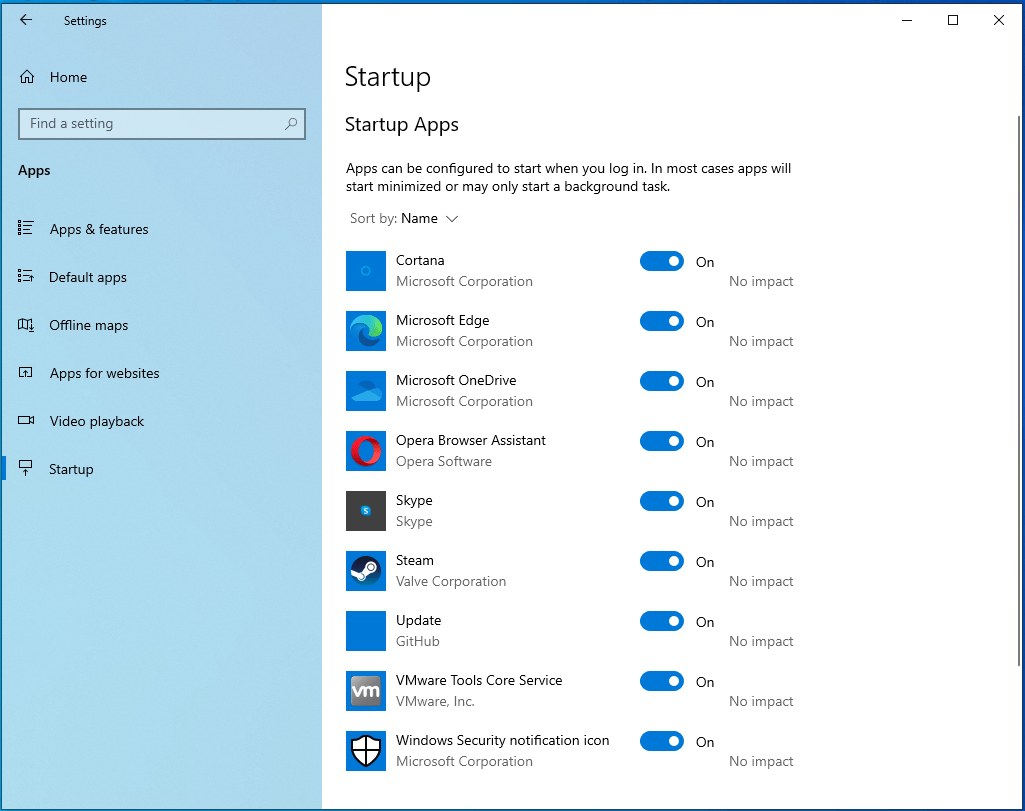
- The Startup page will open.
![Navigate the Startup page.]()
- Disable the programs under Startup Apps.
![Disable the apps under Startup Apps.]()

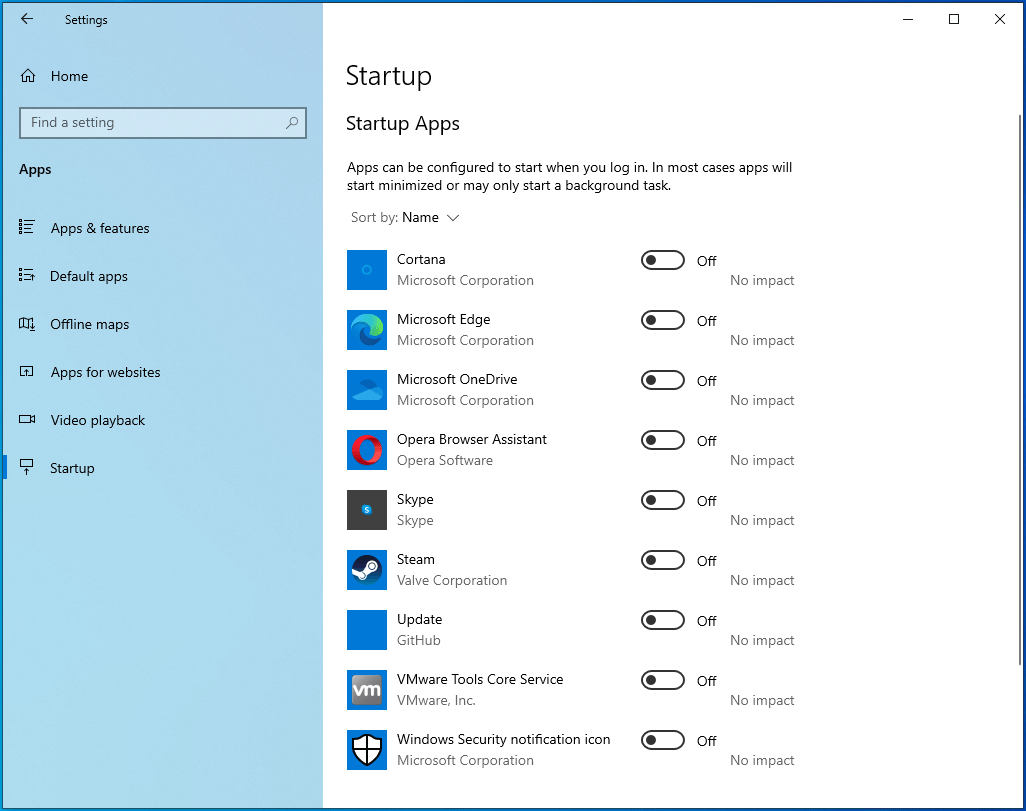
Restart your computer and launch Hellpoint. If the game runs without hitting any glitch, then one of the startup items has been the cause of your problems. You can find out which program is causing the launch issue by enabling them one after the other and restarting your system (after you enable each) to check for the problem. You’re looking for the startup item you have enabled before the launch problem occurs again.
Conclusion
That’s how to resolve the “Hellpoint won’t launch” problem on Windows 10. Below you’ll find a comments section where you can ask questions or share what you think about Hellpoint.