

- What Is the DISM Error 1392?
- Why Does DISM Fail?
- How to Fix the DISM Error 1392 on Windows 10
- Conclusion
Microsoft releases regular Windows 10 updates and patches to keep the OS going with as few issues as possible. However, users still experience a slew of errors and glitches. From software incompatibility to system file damage, various problems can cripple the entire system or result in specific errors that halt certain operations.
Microsoft continues the tradition of leaving built-in Windows tools at the disposal of users because the company’s experts understand that errors are inevitable. But those tools can spit out errors, too.
You’re on this page because you’re looking for solutions to the DISM error 1392. The DISM (Deployment Image Servicing and Management) tool is responsible for servicing and preparing Windows image files, including those used for repair purposes.
In Windows 10, the tool is used to fetch recovery files that the System File Checker tool uses to replace problematic system files. It can also fix image files when the operating system becomes faulty. The utility is also used for advanced purposes, such as mounting a virtual hard disk or Windows image.
Running DISM involves using the Command Prompt, as it is a command-line tool. These are the most common DISM commands:
- DISM /Online /Cleanup-image /CheckHealth
- DISM /Online /Cleanup-image /ScanHealth
- DISM /Online /Cleanup-image /RestoreHealth
Sometimes, the DISM scan fails with error 1392. Other commands can also produce the error.
What Is the DISM Error 1392?
The full error message reads as follows:
“Error: 1392
The file or directory is corrupt or unreadable”
The message implies that some system files are corrupt or unavailable. An unreadable system file could be the reason you ran the scan in the first place. If the issue isn’t resolved as soon as possible, you’ll experience system-wide problems, such as data losses, crashes, hardware failures, and, in some cases, blue screens of death.
Why Does DISM Fail?
Different system issues can trigger the error. Your antivirus program might be blocking a crucial system file that the tool needs to carry out the scan, or your computer might be under a malware attack. Other possible causes of the problem are listed below:
- Faulty hard disk sectors
- Temporary files
- Application conflicts
- Damaged system files
How to Fix the DISM Error 1392 on Windows 10
One of the solutions in this article will help you resolve the issue for good. You have to follow the solutions as they are arranged to fix the problem as fast as possible.
Temporarily disable your antivirus program
Your antivirus program could be erroneously blocking some system files because it suspects them of being security risks. When this happens, the files in question become unreadable, causing DISM to display the error message. Temporarily disable your protection program, then run the command to check if the issue persists.
You’ll find out how to disable major antivirus programs below.
Windows Security
- Use the Windows + I keyboard shortcut to launch the Settings application.
![Open the Settings app.]()
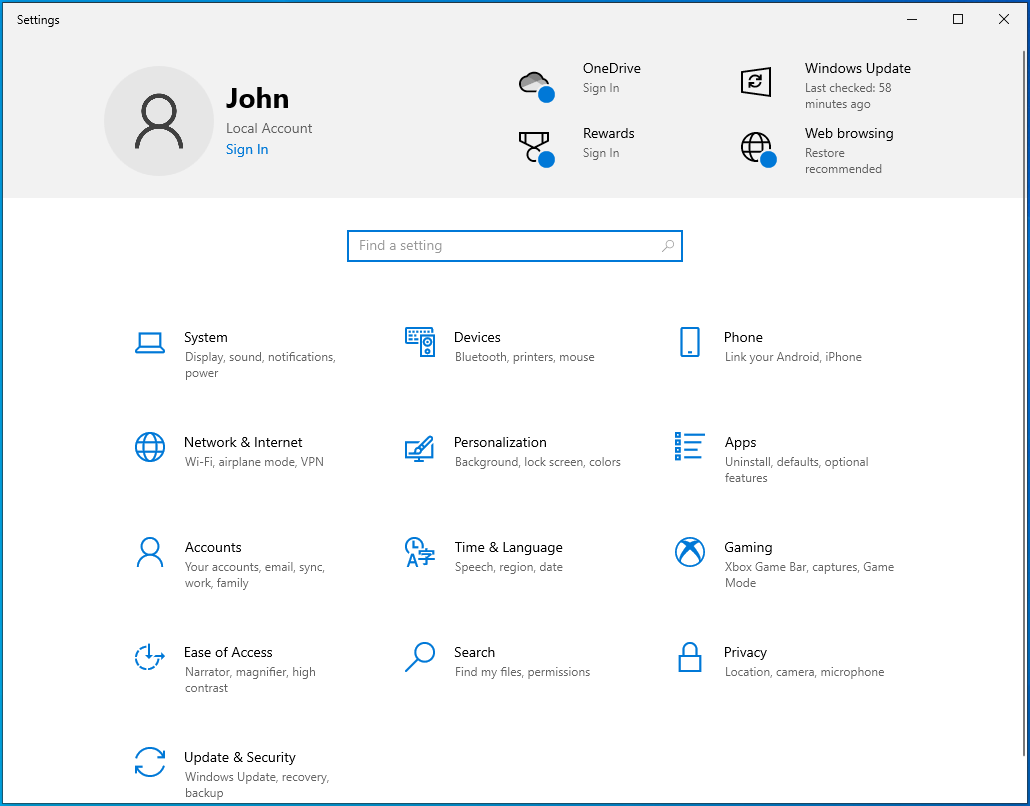
- When the home page of Settings comes up, click on the Update & Security icon.
![Click on Update & Security.]()
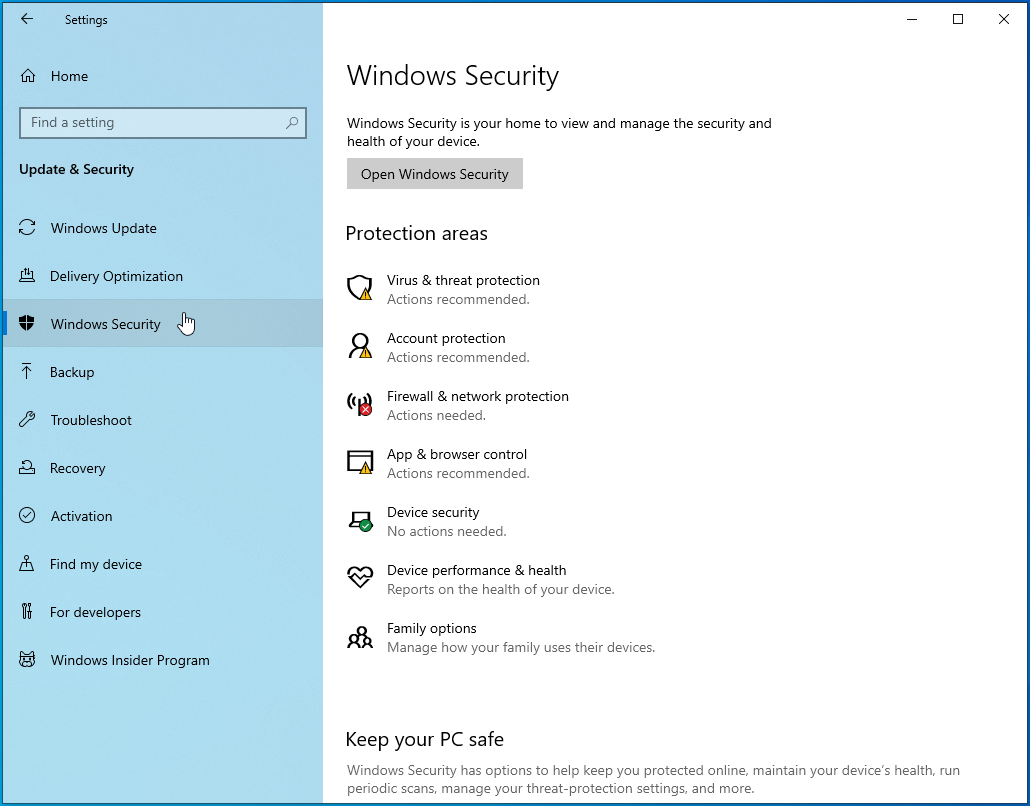
- Once the Update & Security page shows up, go to the left pane and click on Windows Security.
![Go to Windows Security.]()
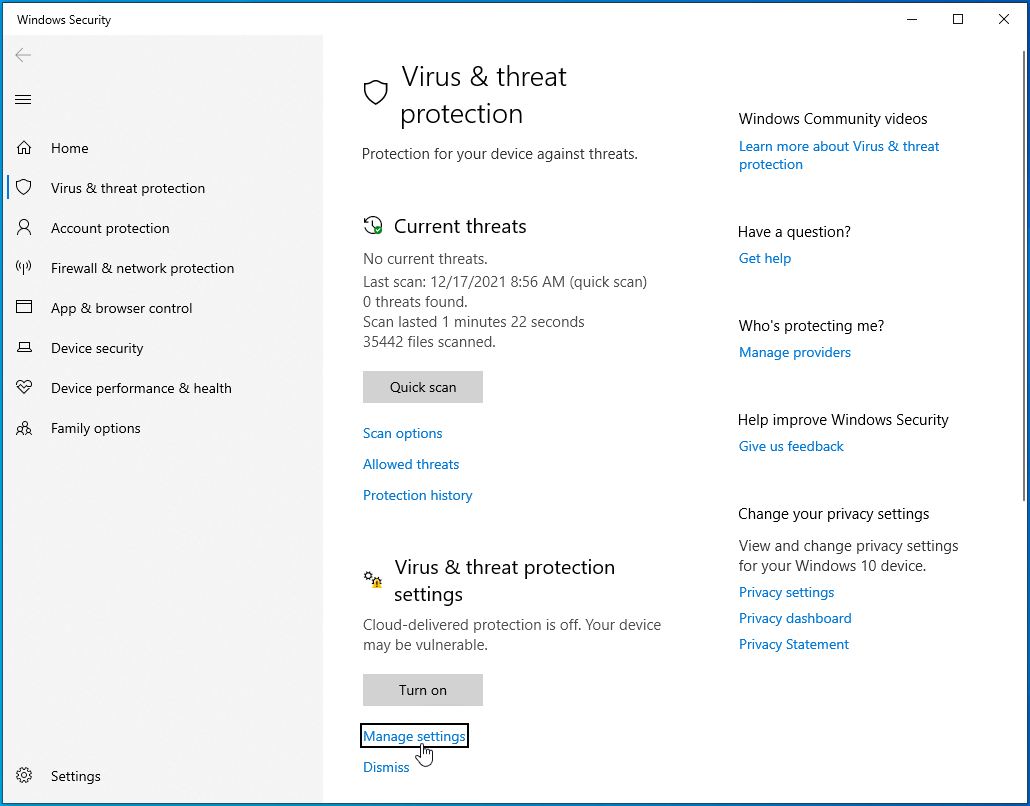
- After that, navigate to the right side of the window and click on Virus & Threat Protection under Protection Areas.
![Click on Virus & Threat Protection under Protection Areas.]()
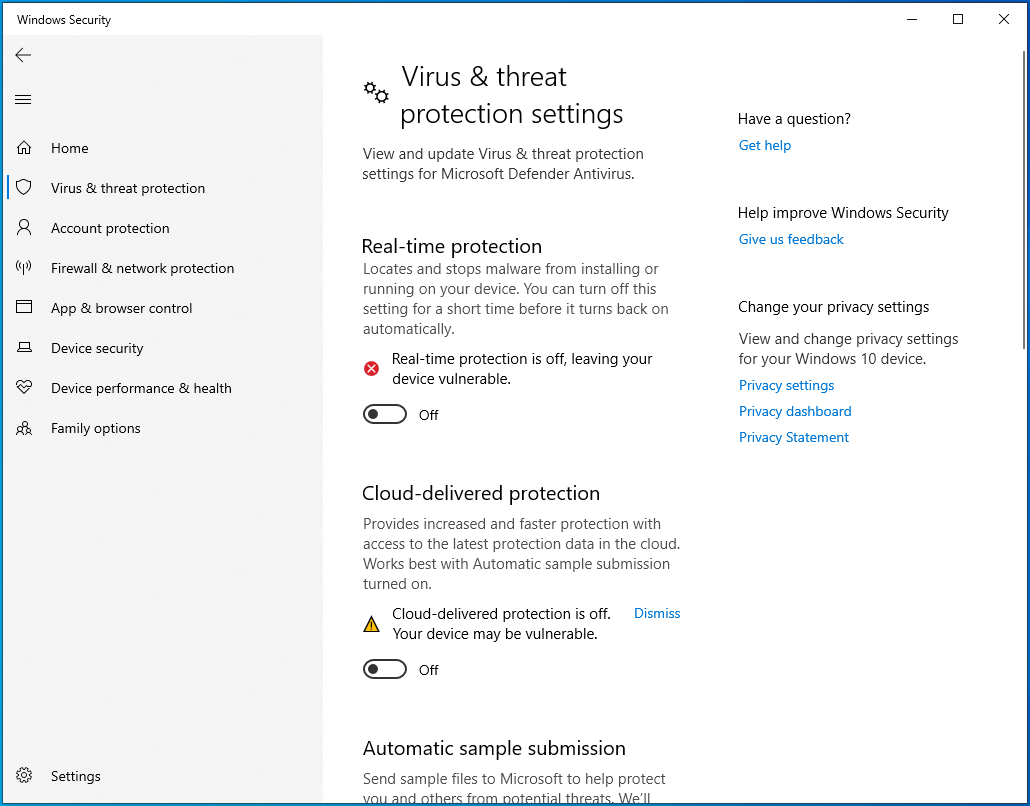
- Once the Virus & Threat Protection interface appears, scroll down to the Virus & Threat Protection Settings section, and then click on Manage Settings.
![Click on Manage Settings.]()
- When you get to the Virus & Threat Protection Settings page, turn off the Real-Time Protection toggle.
![Disable Real-Time Protection.]()
- Try running the DISM scan.

AVG
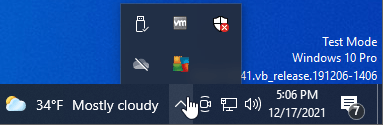
- Head to the right end of your taskbar and right-click on AVG’s icon.
- If the icon isn’t visible on the taskbar, click on the “Show hidden icons” arrow to expand the system tray.
![Open your hidden icons.]()
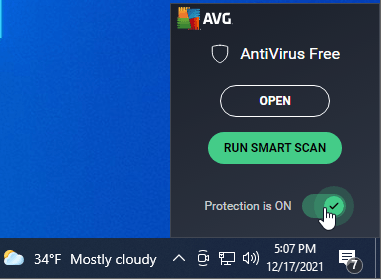
- Once the hidden icons appear, right-click on AVG’s icon and turn off the Protection switch.
![Disable AVG protection.]()
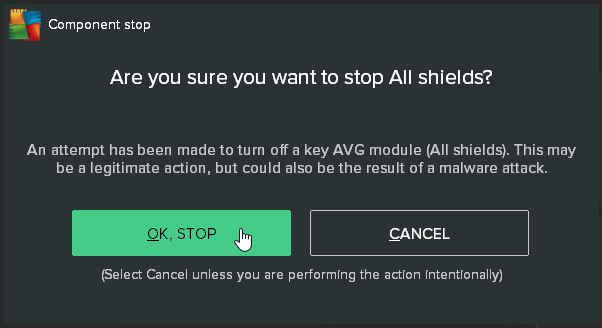
- When the confirmation dialog window pops up, click on OK, STOP.
![Click on OK, STOP.]()
McAfee
- Go to your taskbar’s far-right section and click on the “Show hidden icons” arrow to expand the system tray.
![Click on the "Show hidden icons" arrow.]()
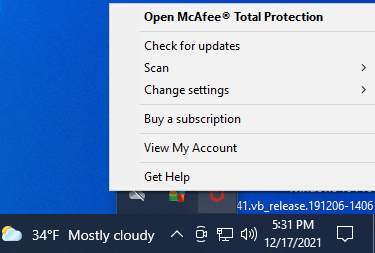
- When you see the expanded system tray, right-click on the McAfee icon.
![Right-click on the McAfee icon.]()
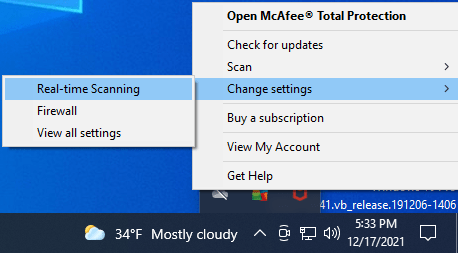
- Place your mouse pointer over Change Settings, and then select Real-time Scanning.
![Click Real-Time Scanning.]()
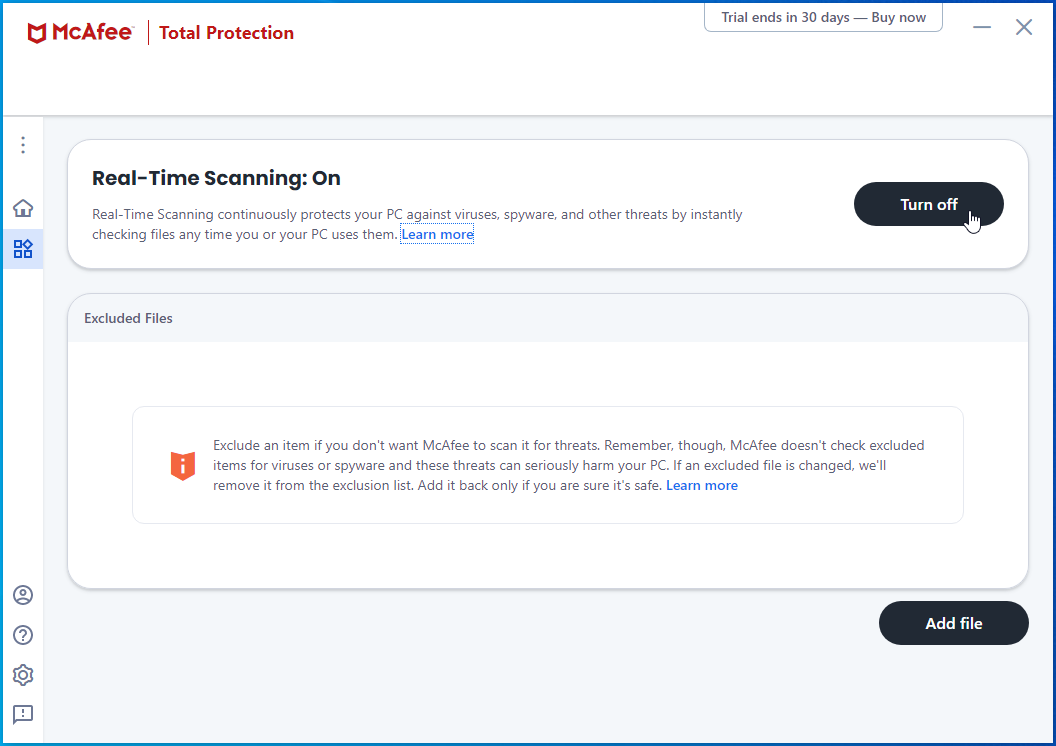
- Once you see the Real-Time Scanning interface, navigate to the bottom of the screen and click on the Turn Off button.
![Click on the Turn Off button.]()
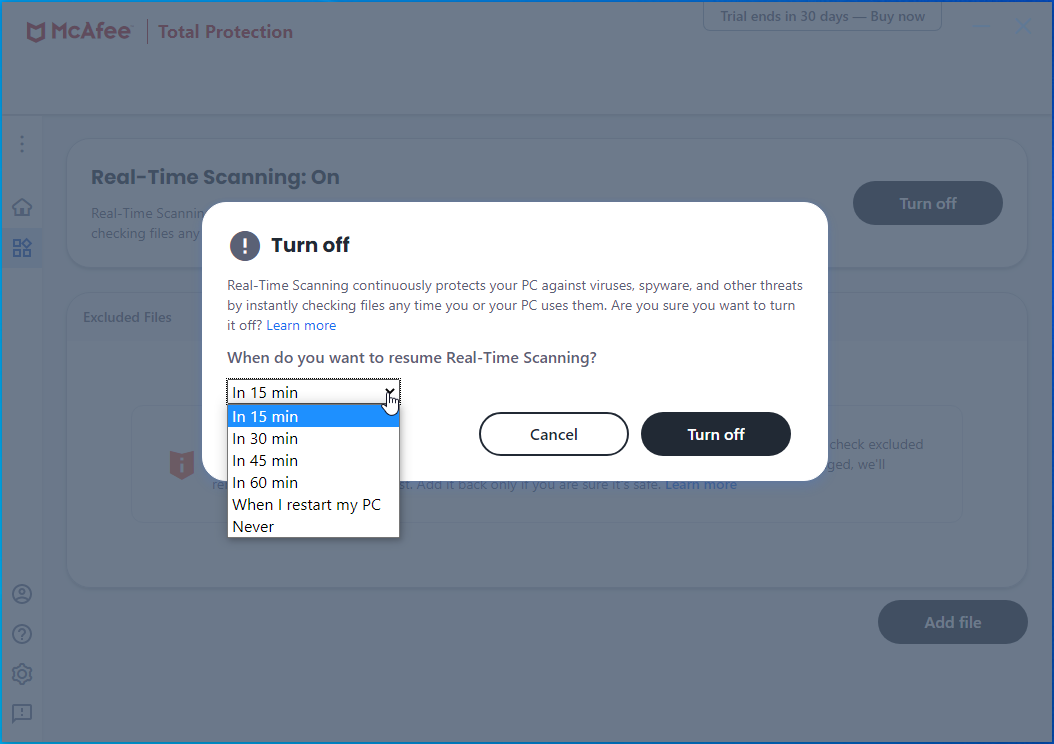
- Next, go to the drop-down menu under “When do you want to resume real-time scanning?” after the Turn Off dialog window pops up, and then choose how long you want to keep Real-Time Scanning turned off.
![Choose how long you want to keep Real-Time Scanning turned off.]()
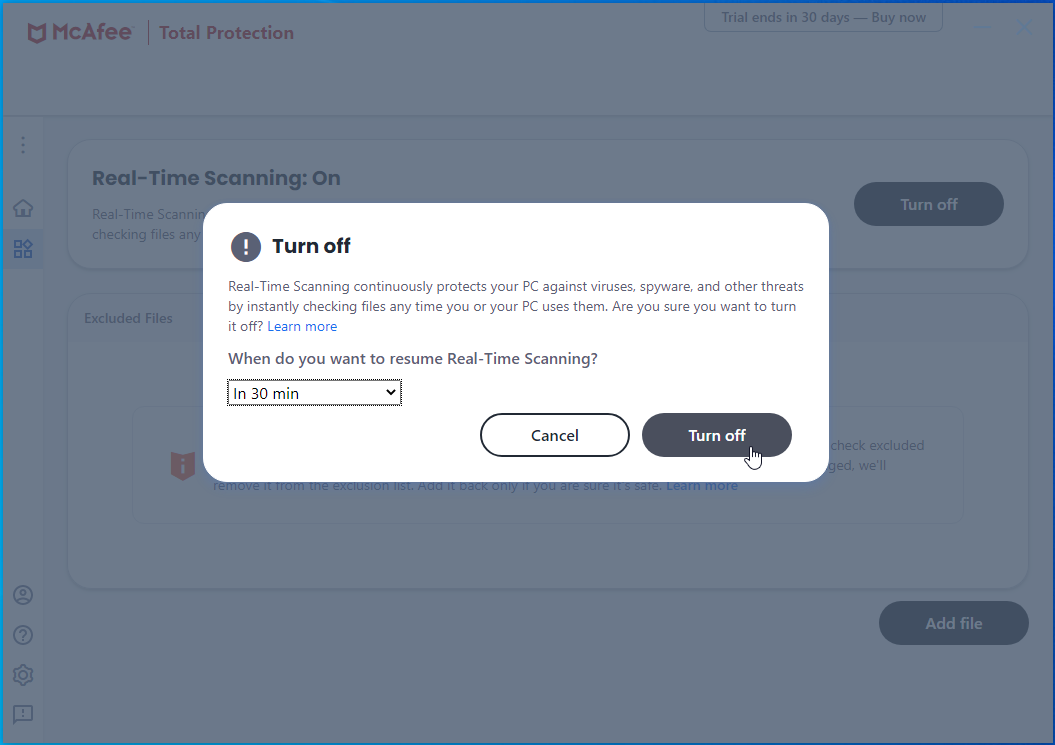
- Now click on Turn Off and try running the command.
![Click on Turn Off.]()
Avast
- Go to your taskbar’s far-right edge and click on the “Show hidden icons” arrow to expand the system tray.
![Click on the "Show hidden icons" arrow.]()
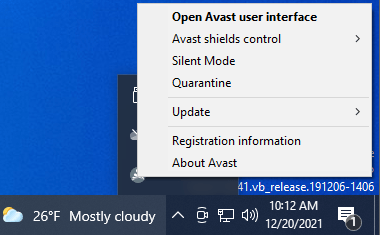
- When you see the expanded system tray, right-click on the Avast icon.
![Right-click on the Avast icon.]()
- Navigate to “Avast shields control.”
![Click on "Avast shields control."]()
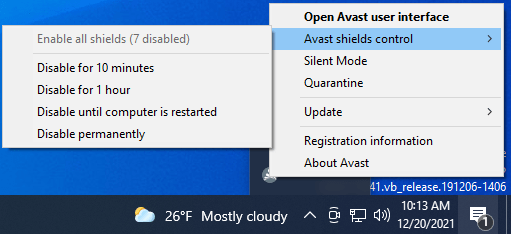
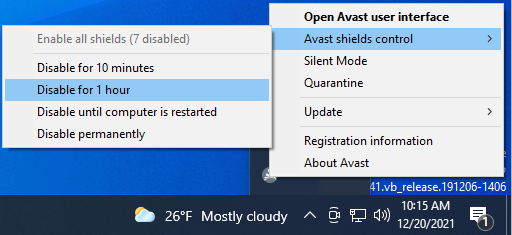
- Click on Disable for “Avast shields control” and set a duration.
![Disable "Avast shields control".]()
- Now try running the command.
Kaspersky
- Head to the right of your taskbar.
- Click on “Show hidden icons” if the Kaspersky icon is not on the taskbar. Right-click on the icon once you see it.
- Once the context menu shows up, select Pause Protection.
- After you see the Pause Protection dialog window, you can pause protection for a specified duration, until you start the application again, or until you choose to resume real-time protection.
- Click on Pause Protection after choosing an option.
- You can now try running the command.
Run a full malware scan
If turning off the antivirus program does not resolve the problem, you have to eliminate the possibility of malware infection. Some malware applications are designed to infiltrate system folders and behave like system files. In some cases, they might tamper with or replace individual system files to escape discovery.
You have to run a full malware scan and allow the antivirus program to check your system folders. Running the full scan shouldn’t be an issue, as you can easily find the option on the first page of your antivirus tool’s GUI.
If you use Windows Security, follow these steps to run the full scan:
- Use the Windows + I keyboard shortcut to launch the Settings application.
![Launch the Settings app.]()
- When the home page of Settings comes up, click on the Update & Security icon.
![Click on the Update & Security icon.]()
- Once the Update & Security page shows up, go to the left pane and click on Windows Security.
![Click on Windows Security.]()
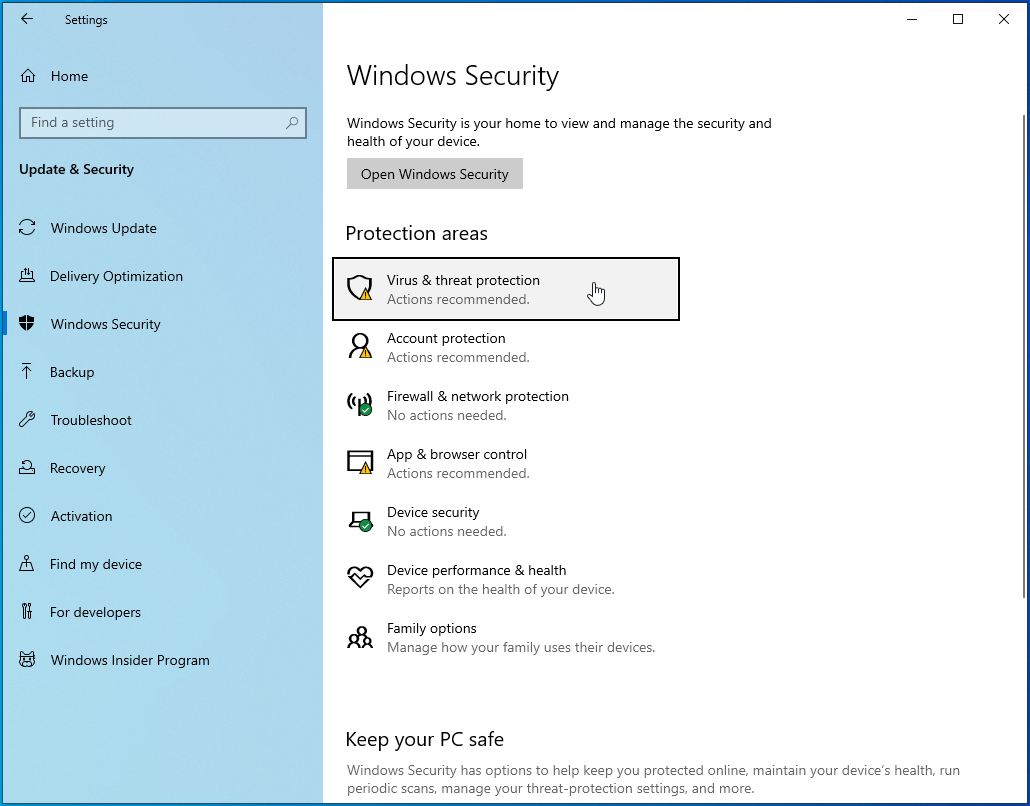
- After that, navigate to the right side of the window and click on Virus & Threat Protection under Protection Areas.
![Click on Virus & Threat Protection under Protection Areas.]()
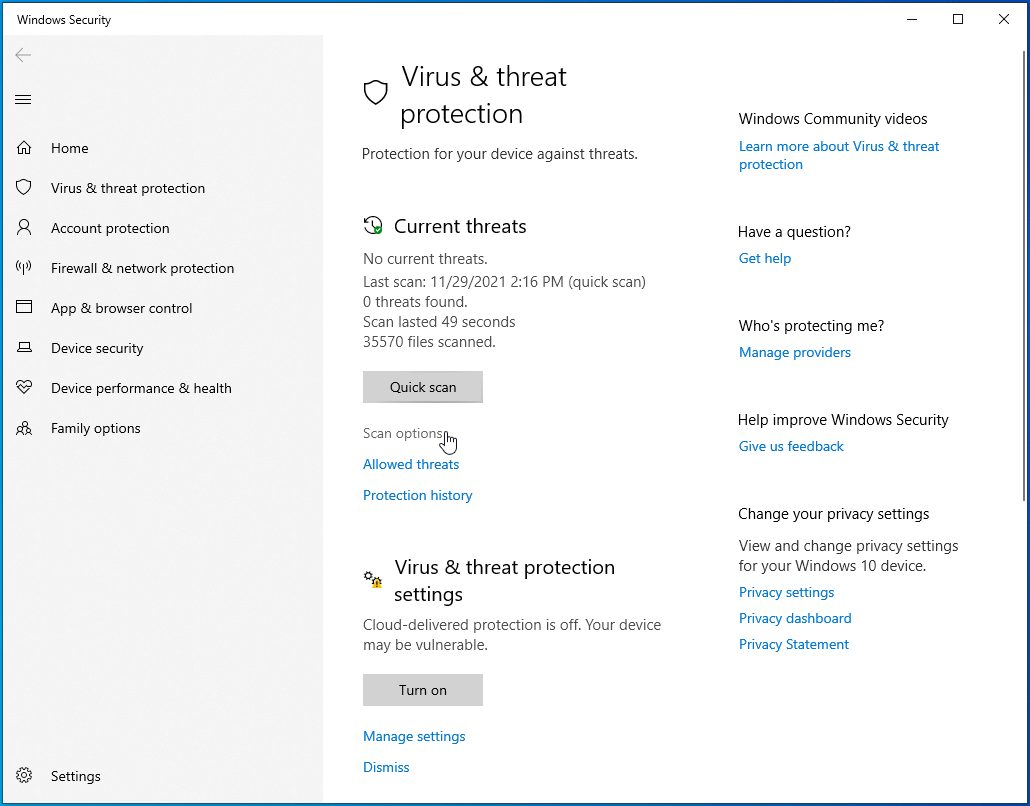
- Once the Virus & Threat Protection interface appears, click on Scan Options.
![Click on Scan Options.]()
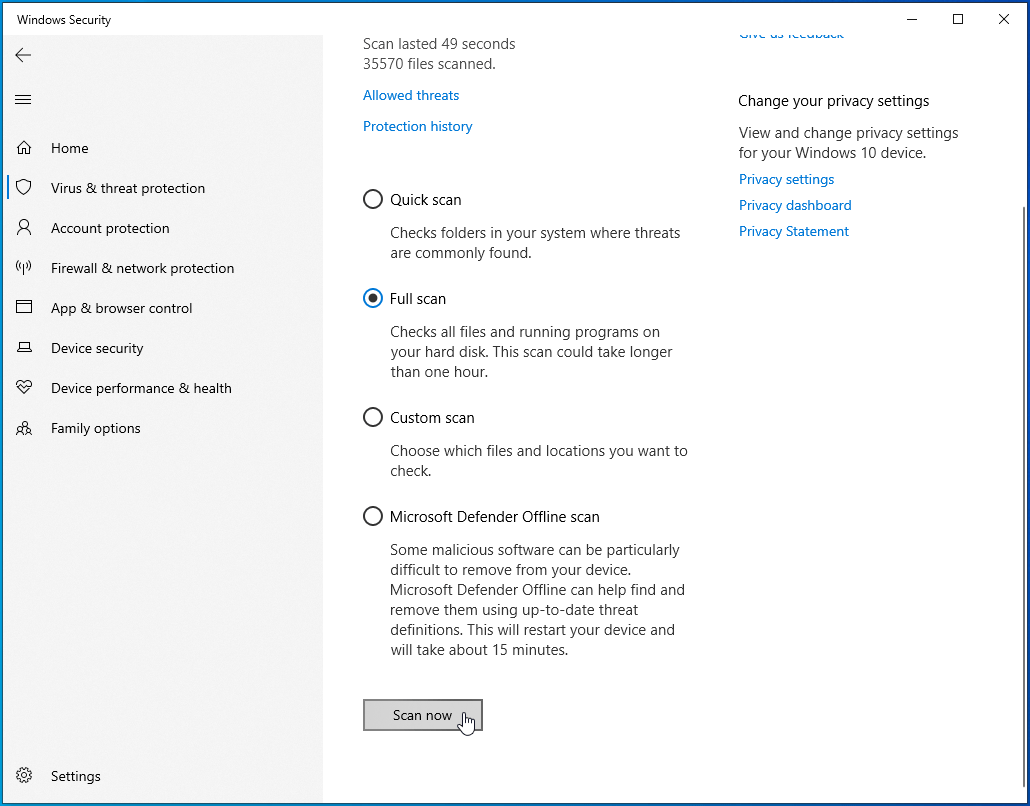
- After you see the Scan Options page, select Full Scan, and then click on Scan Now.
![Select Full Scan, and then click on Scan Now.]()
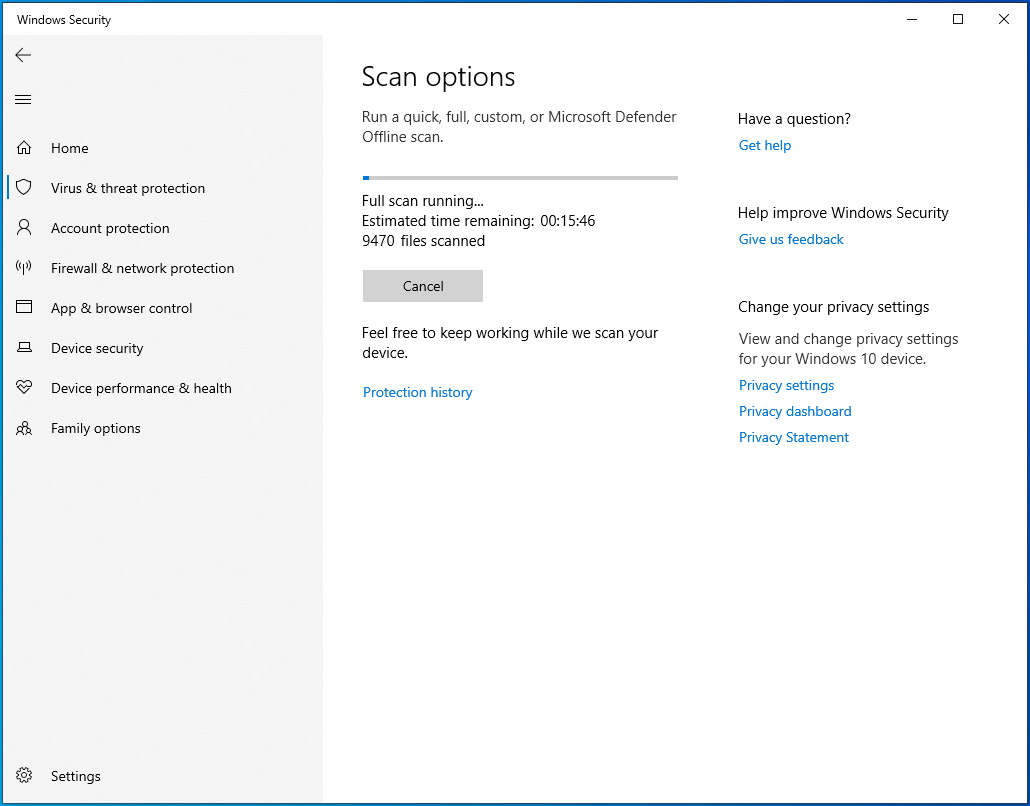
- The Full Scan usually runs longer than the Quick Scan, as it goes into deeper areas.
![Wait while your system is being scanned.]()
- Once the scan is complete, allow the tool to remove any malware that it finds and restart your system.
- You can now try running the command.

Remove temporary files
Temporary files serve a purpose for a short period, after which they become useless. However, they go on to cause problems, especially when they become corrupt. In some cases, you’ll have to flush out leftover installation files or files that are yet to be installed, such as Windows Update files.
You’ll find out how to remove temporary files using the Disk Cleanup utility and the Settings application.
Use Disk Cleanup:
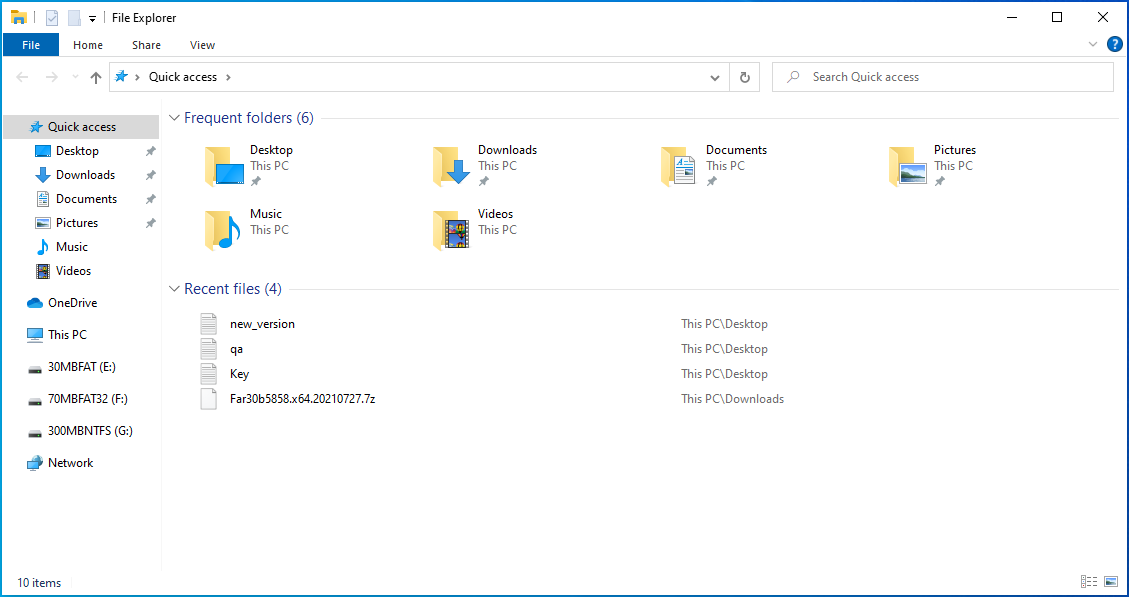
- Navigate to the taskbar and click on the folder icon to open a File Explorer window. The Windows + E keyboard shortcut is another means of summoning a File Explorer window.
![Open a File Explorer window.]()
- Once File Explorer opens, go to the left pane and click on This PC.
![Click on This PC.]()
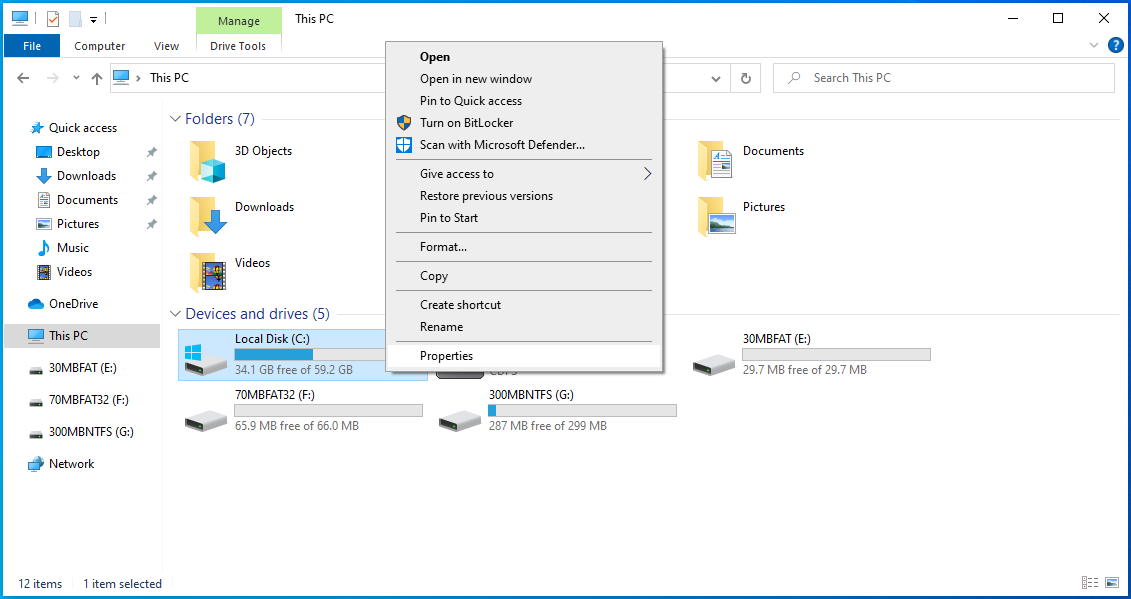
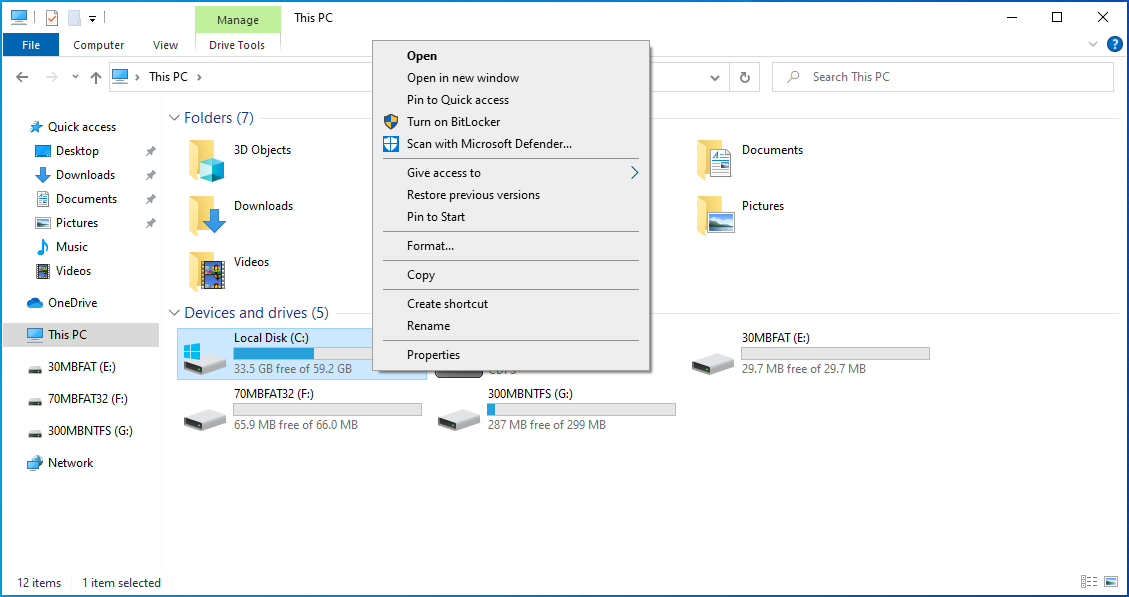
- Head to the right pane, right-click on your first drive and click on Properties.
![Right-click on your drive and select Properties.]()
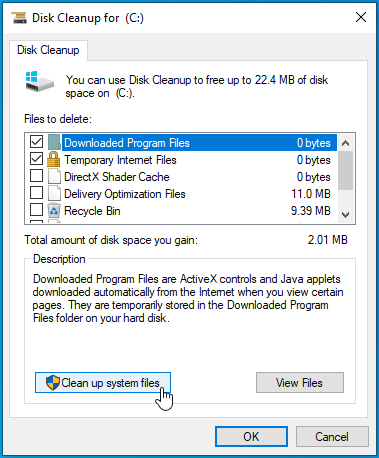
- Immediately the Properties dialog window opens, click on Disk Cleanup.
![Click on Disk Cleanup.]()
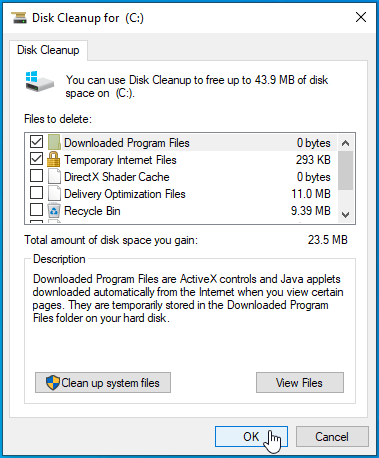
- Once the Disk Cleanup utility scans your temporary files and shows you the files to delete, select the ones you want to remove and click on OK.
![Select the files you want to remove and click on OK.]()
- Click on the “Clean up system files” button to get rid of system files that are no longer in use.
![Click on "Clean up system files".]()
- After that, try running the DISM command and check for the problem.

Here’s how to use the Settings application to clear out temporary files:
- Open the Settings application by pressing the Windows + I keyboard shortcut.
![Run the Settings app.]()
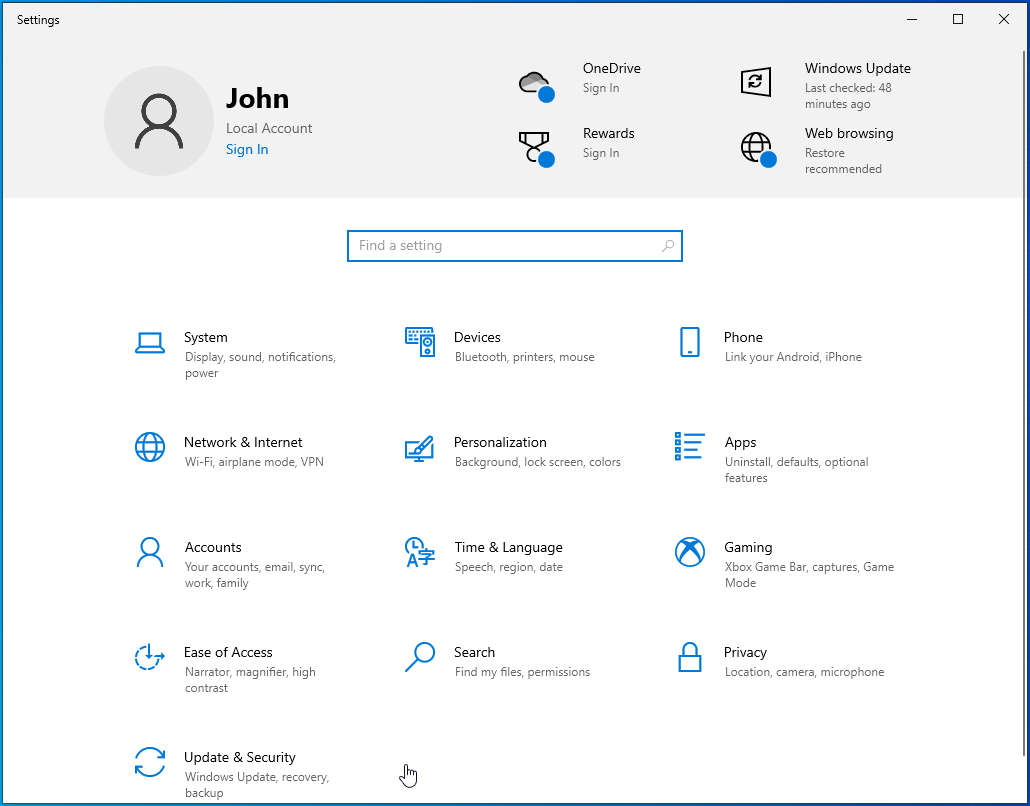
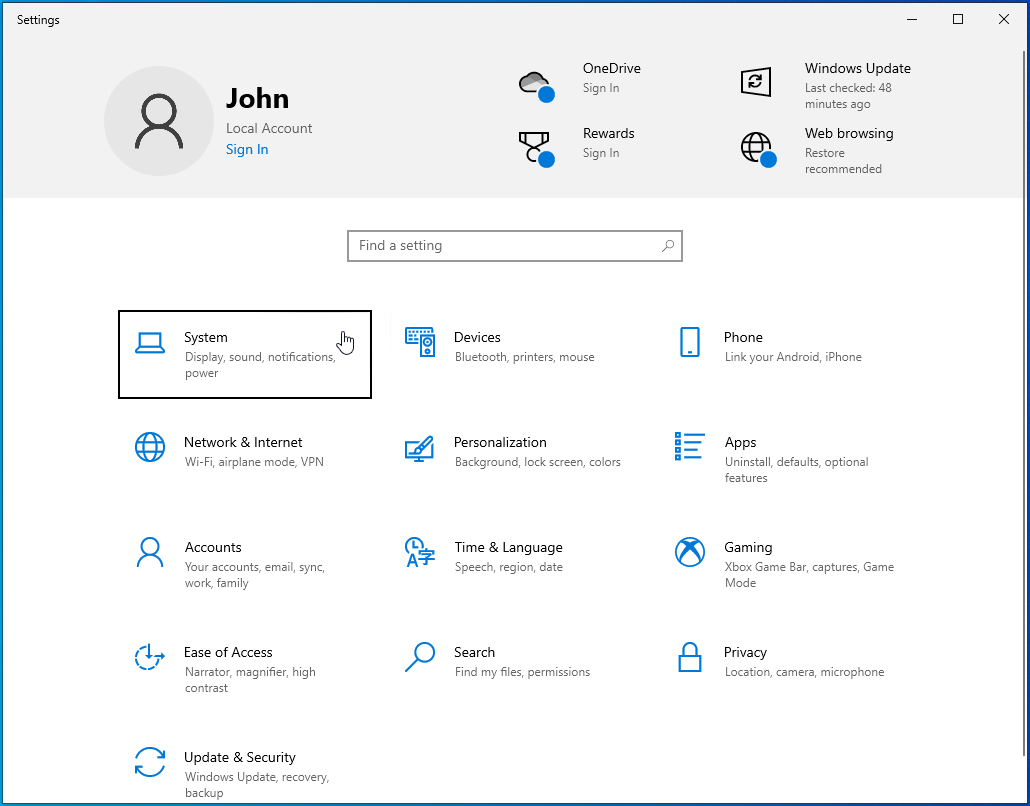
- After the home page of Settings appears, click on System.
![Click on System.]()
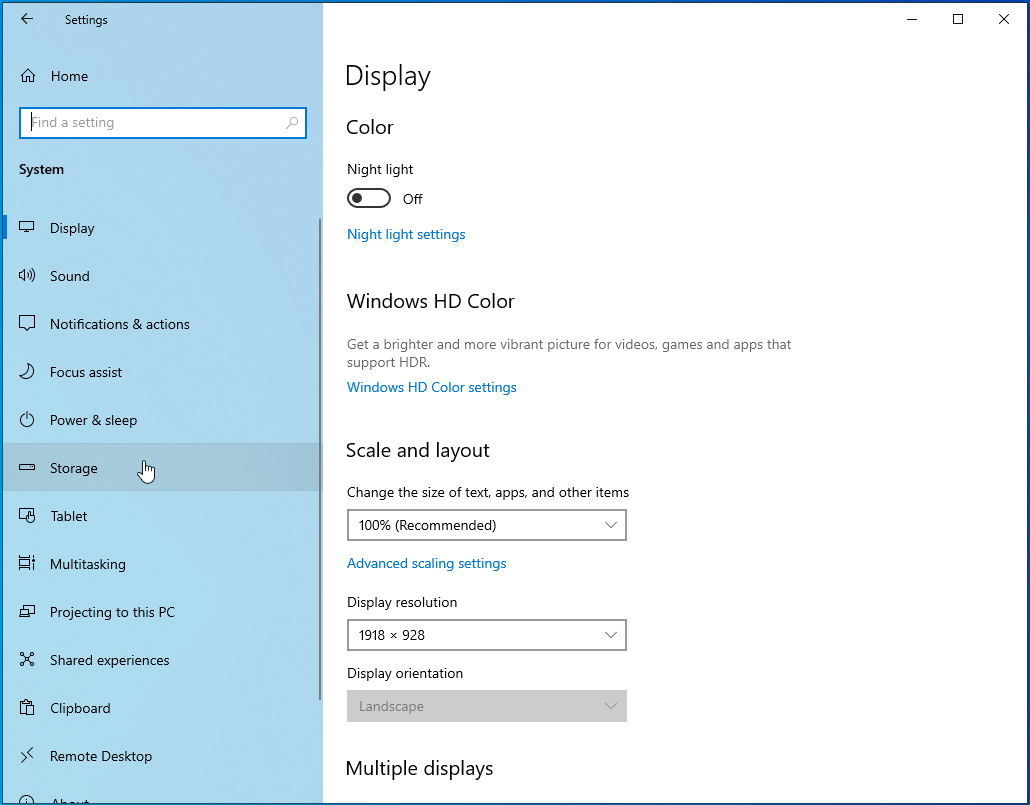
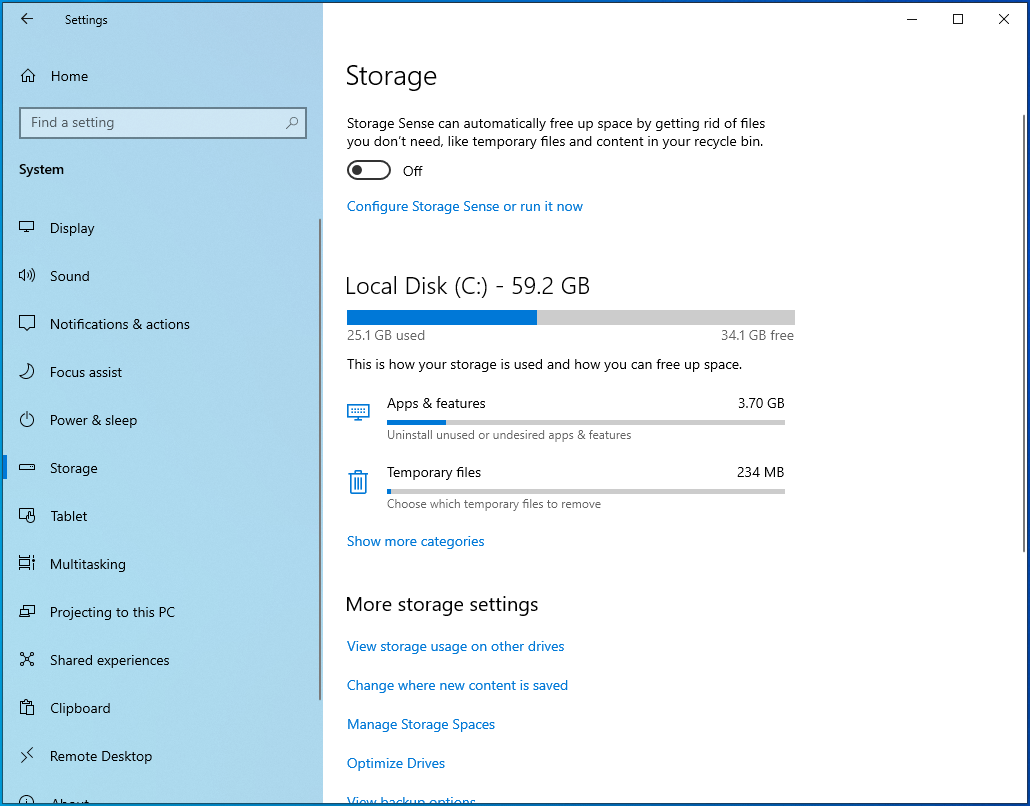
- Go to the left pane of the System page and click on Storage.
![Click on Storage.]()
- On the right side of the page, you’ll see the Storage tab, where information about your system’s hard drive is displayed.
![Navigate the Storage tab.]()
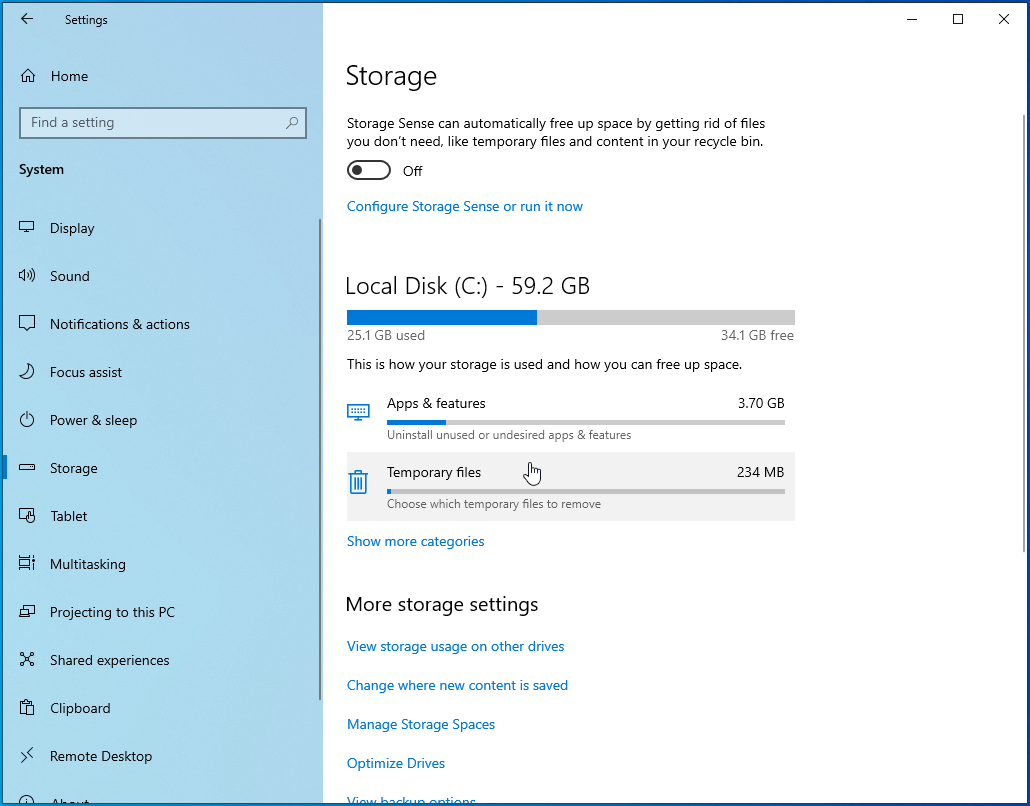
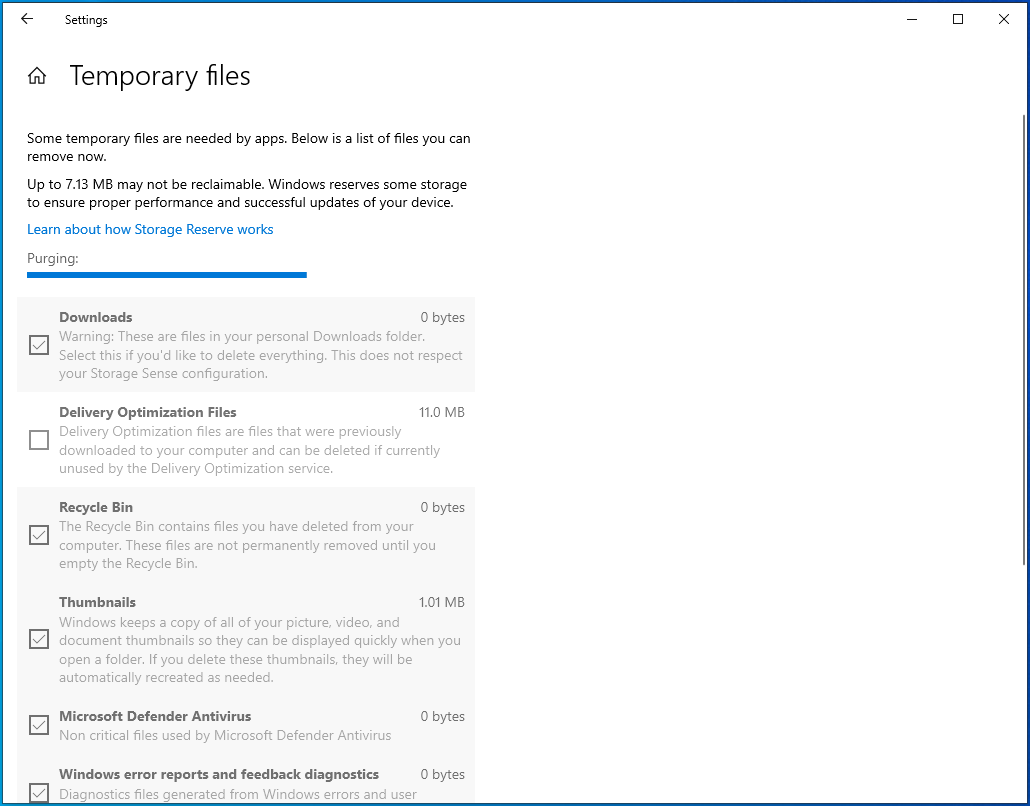
- Click on Temporary Files.
![Click on Temporary Files.]()
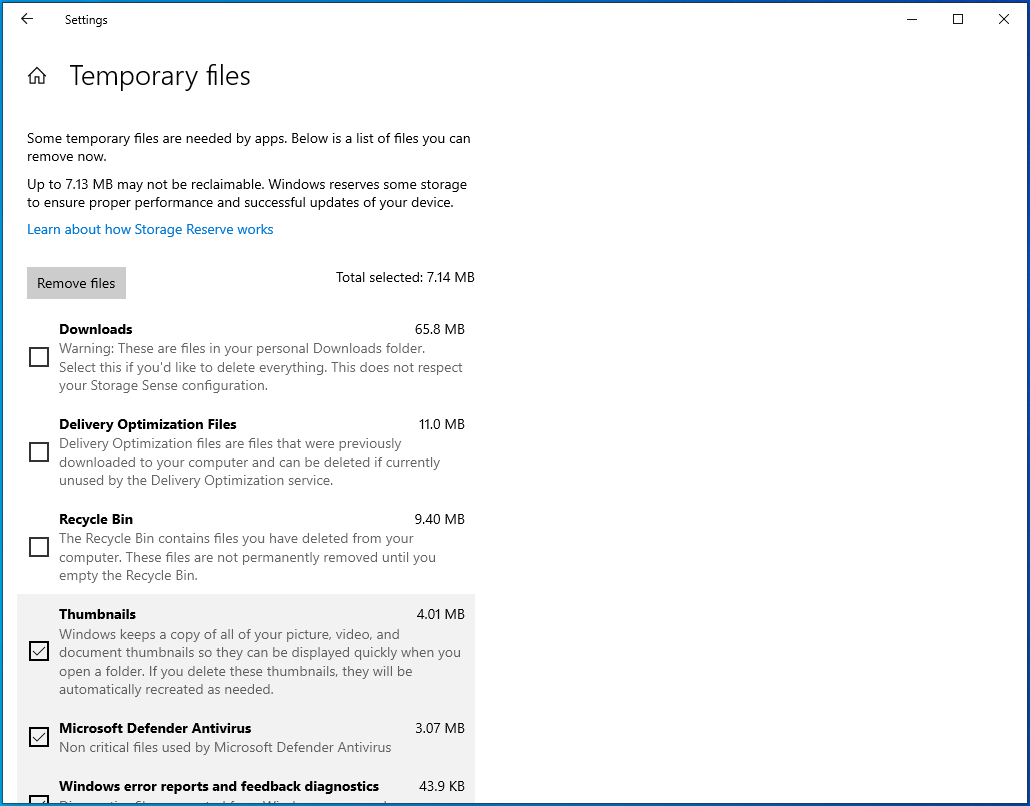
- Windows will now scan your temporary files and list them according to their categories, showing you the size of each file.
![Your temporary files will be listed according to their categories.]()
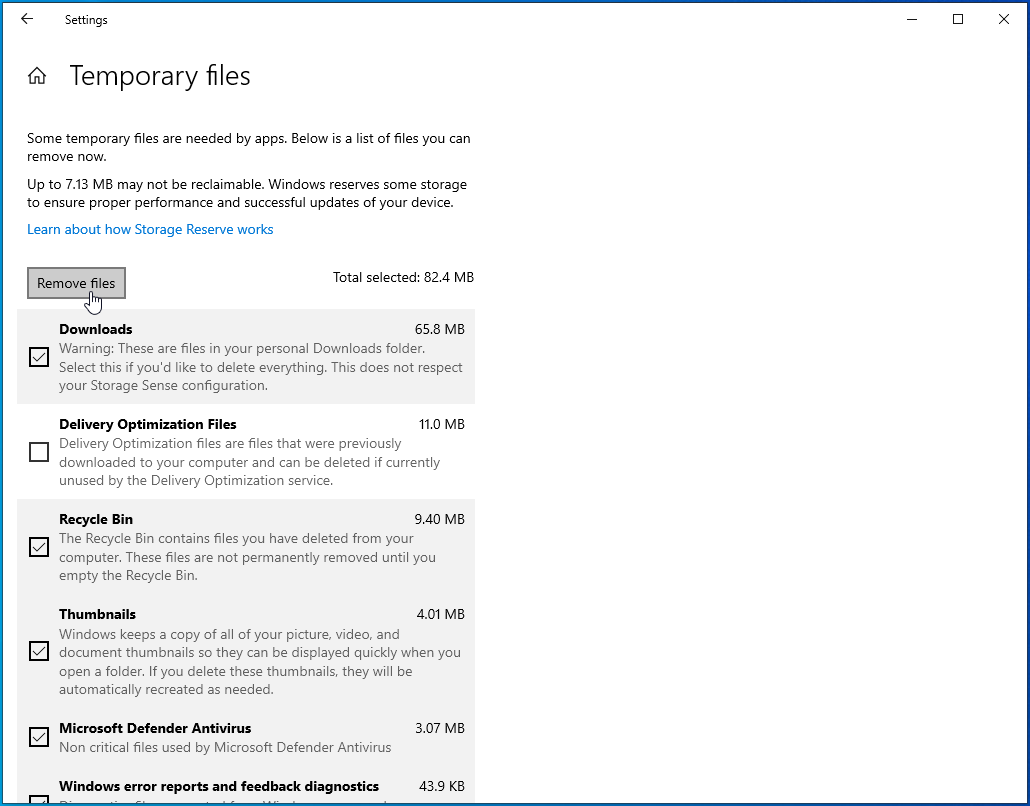
- Use the boxes beside the categories to select the ones you want to delete, and then click on the Remove Files button at the top of the page.
![Click on the Remove Files button.]()
- Allow Windows to remove the files, and then try running the command to check if the error still occurs.
![Wait while your temp files are being removed.]()
You can automate the removal of temporary files and other problematic entities, like corrupt registry keys, by installing Auslogics BoostSpeed.
The tool has many system optimization algorithms that help it track such items and remove them.
Run CHKDSK
The problem might lie with your hard disk. If the file that DISM needs to work is located in a bad sector, this may result in the error in question. You can quickly resolve that problem by running the CHKDSK command.
First, we’ll show you how to run the CHKDSK tool via your regular user interface. If that doesn’t get the job done, we’ll show you how to run the tool in Command Prompt.
Follow the guide below to run the CHKDSK tool via File Explorer:
- Click on the folder icon in your taskbar to open a File Explorer window. The Windows + E keyboard shortcut is another means of summoning a File Explorer window.
![Open a File Explorer window.]()
- Once File Explorer opens, go to the left pane and click on This PC.
![Click on This PC.]()
- Head to the right pane, right-click on your first drive and click on Properties.
![Click on Properties.]()
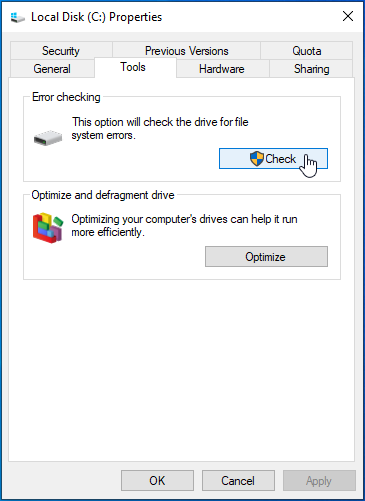
- Immediately the Properties dialog window opens, switch to the Tools tab and click on the Check button under Error Checking.
![Click on the Check button under Error Checking.]()
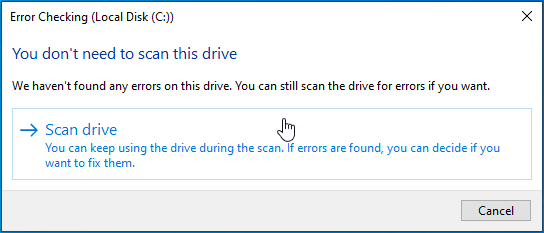
- Once you see the “You don’t need to scan this drive” dialog, click on Scan Drive.
![Click on Scan Drive.]()
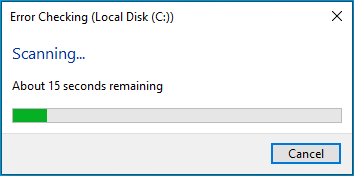
- The CHKDSK utility will now begin to scan your hard disk for errors.
![Wait while your disk is being checked for errors.]()
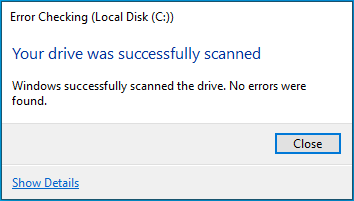
- Once the scan is complete, a dialog will appear showing you the results.
![You will see the scan results.]()
If going through File Explorer does not work, use an elevated Command Prompt window to run a more thorough check of the hard disk. Follow the guide below:
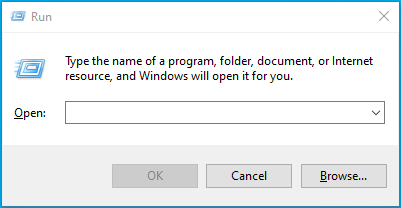
- Open the Run dialog box by right-clicking the Start button and clicking on Run in the Power User menu. Tapping the Windows and R keys simultaneously will also launch the dialog box.
![Open the Run box.]()
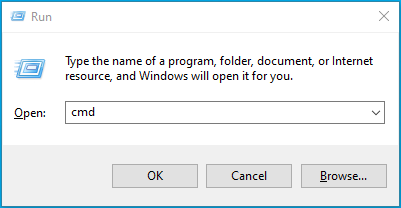
- Once Run opens, type “CMD” into the text field, and then press Ctrl + Shift + Esc.
![Type "CMD" into the text field.]()
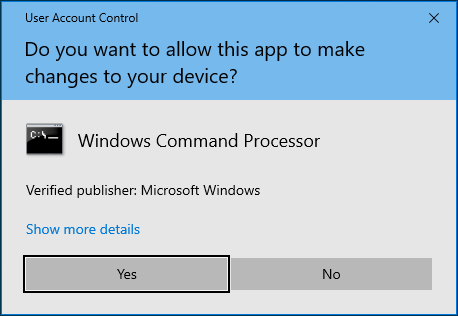
- Once the User Account Control dialog requests permission to run the Command Prompt as an administrator, click on Yes.
![Click Yes to launch CMD.]()
- Immediately the Command Prompt window appears, type in the line below and hit the Enter key:
chkdsk C: /f /r /x
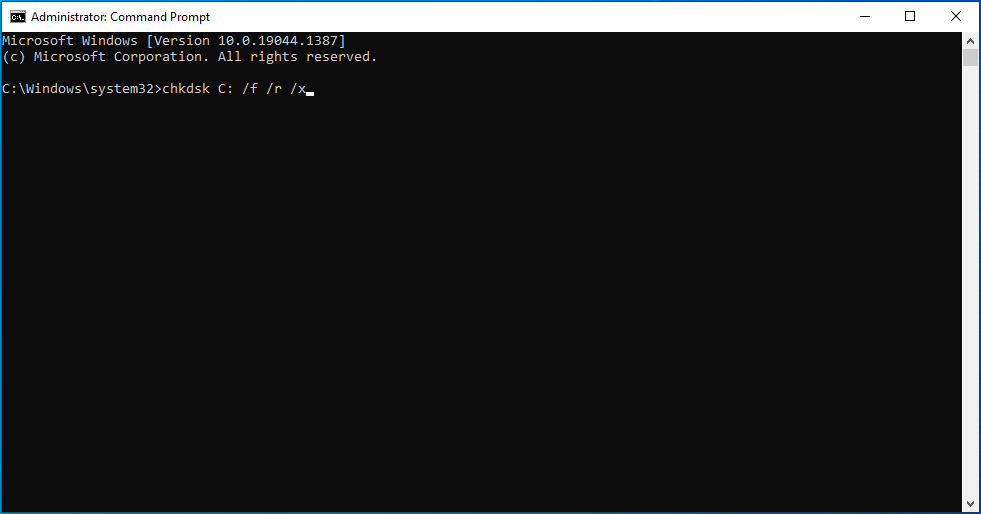
Note that the letter “C” in the command is a placeholder for your Windows volume drive letter.
The additional command switches do the following:
The “/x” parameter allows the tool to unmount the volume before it is scanned.
The “/r” parameter allows the tool to look for bad sectors and recover any readable information.
The “/f” parameter allows the tool to fix any error that it finds during the scan.
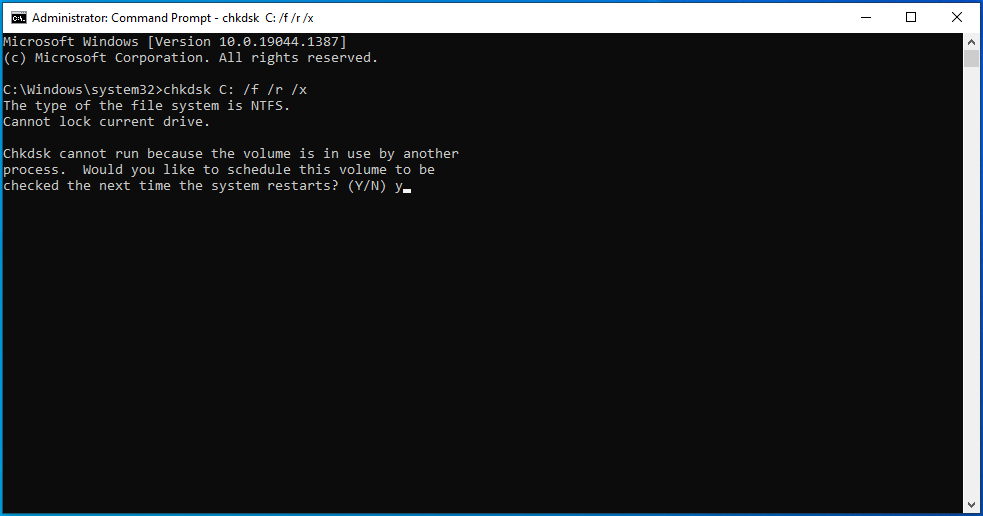
If the message below shows up, then the volume you are trying to scan is currently busy. Tap the Y key if the Command Prompt asks you to schedule the scan for your next reboot:
“Chkdsk cannot run because the volume is in use by another process. Would you like to schedule this volume to be checked the next time the system restarts? (Y/N)”
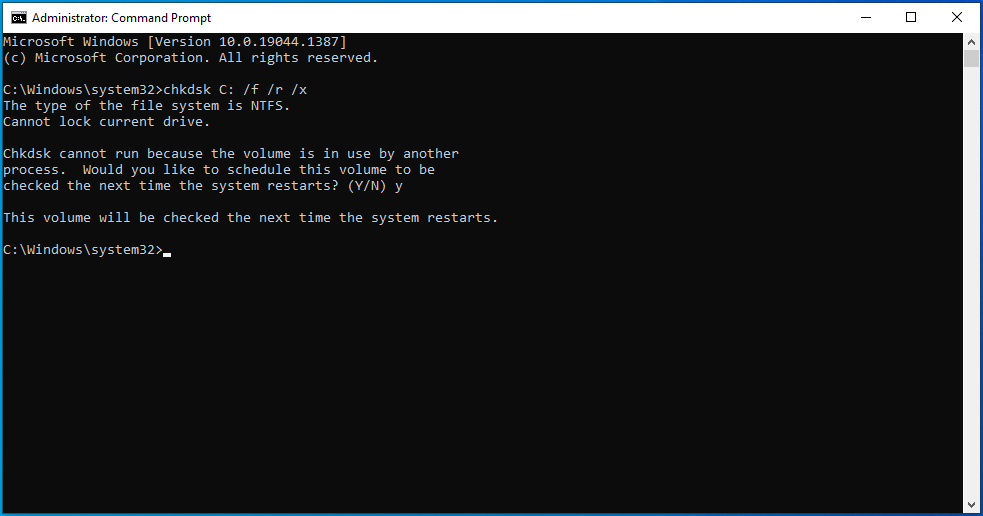
After pressing Y, reboot your PC to complete the check, then try carrying out your backup and check for the error.
Restore your system to an earlier state
Suppose the problem started after you made significant changes to your system, such as installing or uninstalling a program or a driver. In that case, you can reverse them by running System Restore. Windows creates automatic restore points to help you return your system to a previous state if issues like this occur.
The following steps will show you how to perform a system restore:
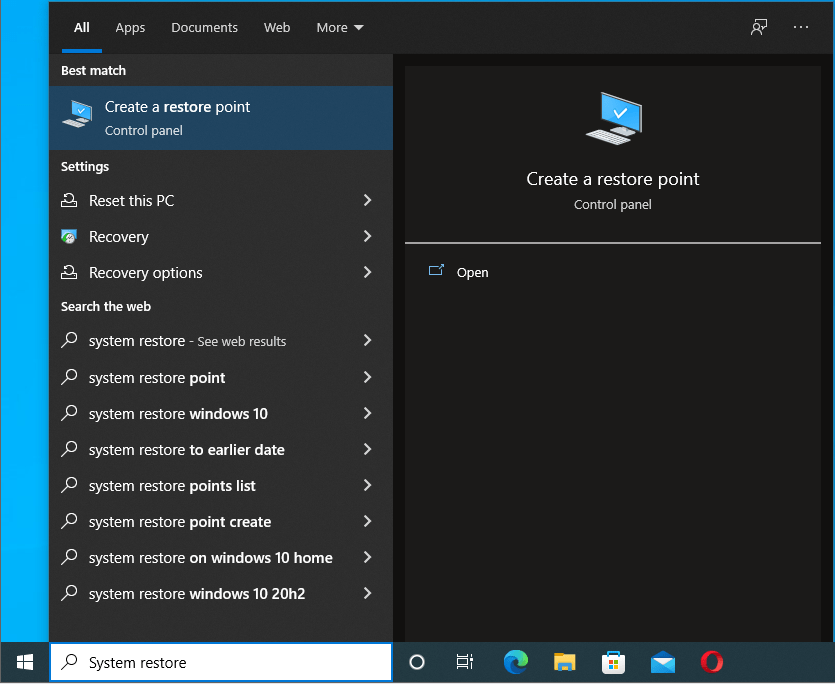
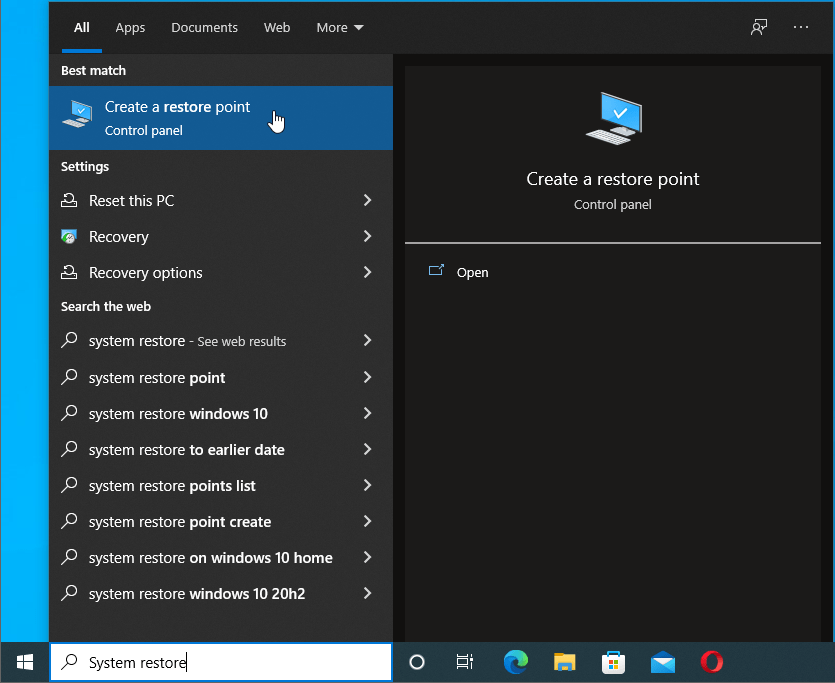
- Open the Start menu and type “System restore.”
![Type "System restore."]()
- Click on “Create a restore point” in the search results.
![Click on "Create a restore point".]()
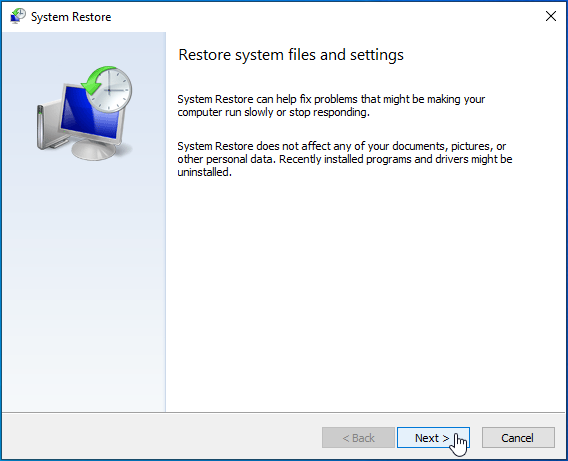
- Once the System Properties dialog window opens, click on the System Restore button.
![Click on the System Restore button.]()
- Click on Next on the first page of the System Restore wizard. You can select “Choose a different restore point” if you don’t want to use the recommended restore point.
![Click Next on the System Restore page.]()
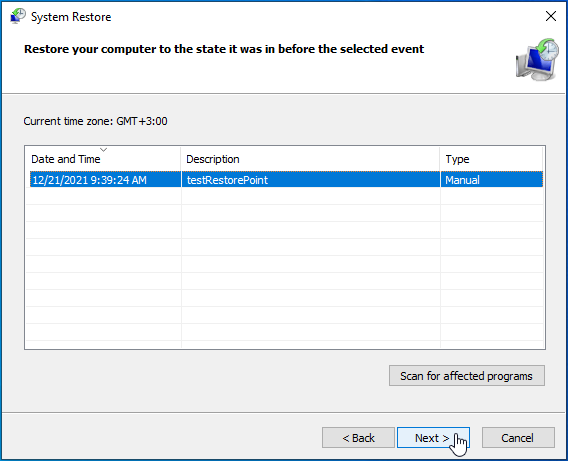
- Select a restore point and click Next.
![Select a restore point and click Next.]()
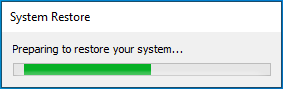
- Click on Finish and allow your system to restart.
![Click Finish in System Restore.]()
- Your system will be restored.
![Wait while your system is being restored.]()
- Once your computer reboots, check for the problem.


Reset Windows
If nothing works, then you should consider resetting your operating system. You can keep your files, but your applications and preferences will be lost.
Follow these steps to reset your Windows 10 PC properly:
- Click on the Start menu and select the Settings icon above the Power icon.
![Click the Settings icon.]()
- Once the Settings interface appears, click on the Update & Security icon at the bottom of the screen.
![Click on the Update & Security icon.]()
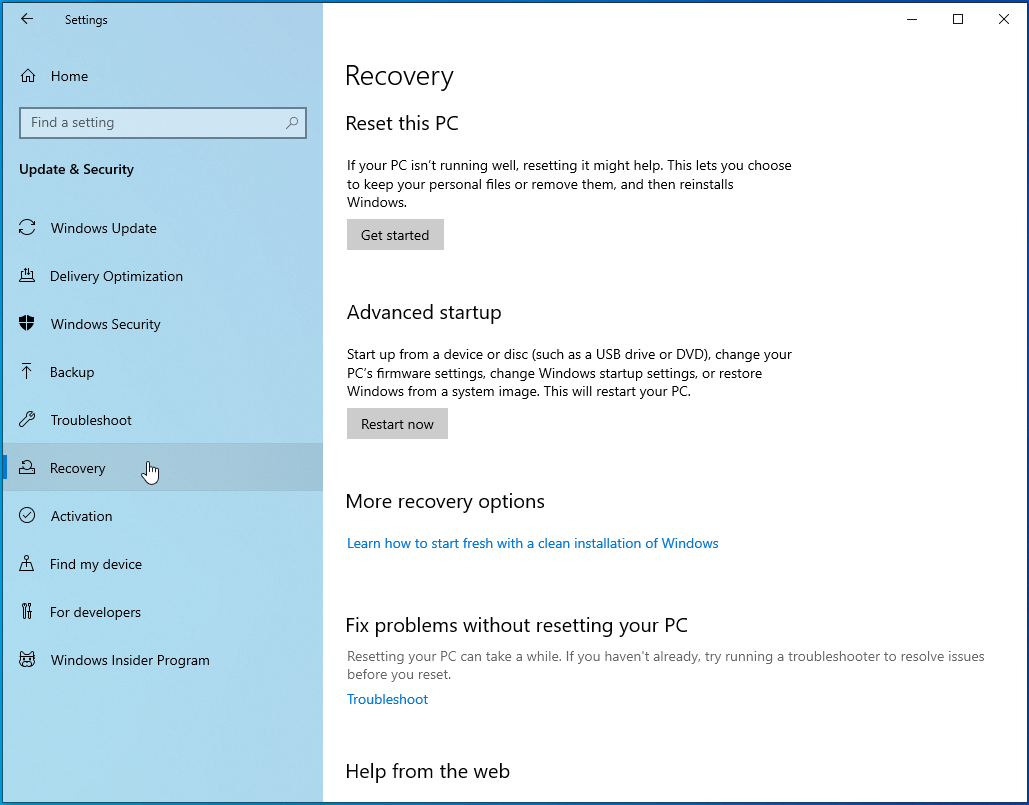
- Next, go to the left side of the Update & Security page and click on Recovery.
![Go to the Recovery tab.]()
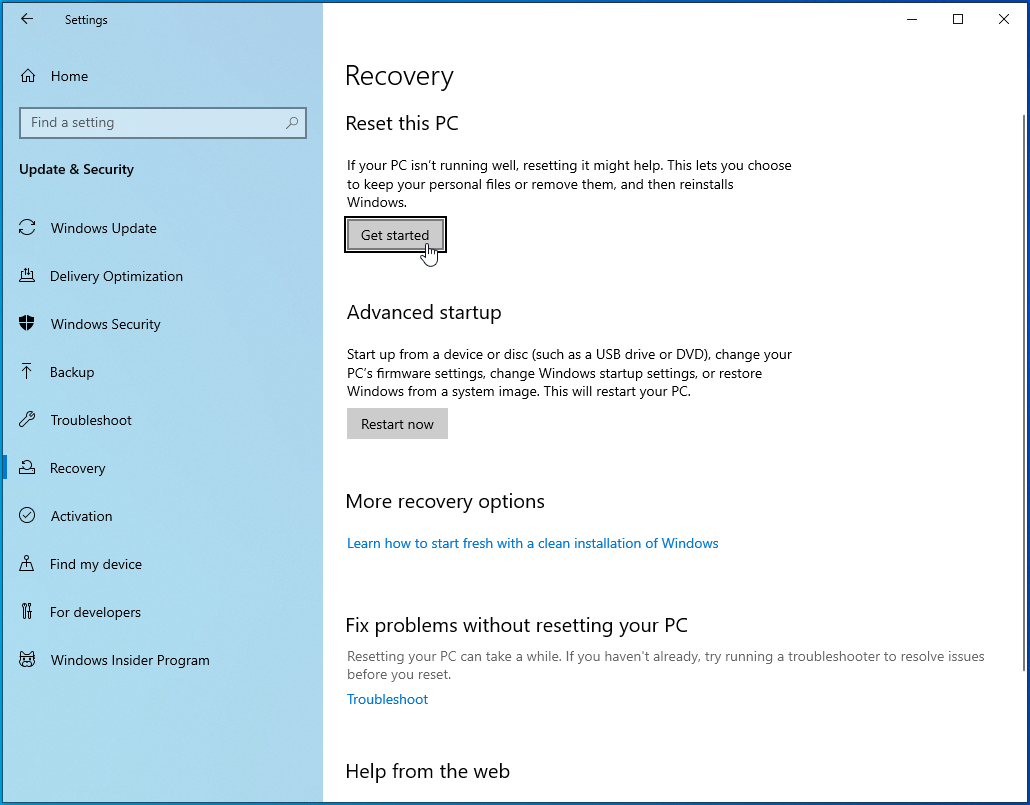
- Navigate to the right side of the screen and click on Get Started under Reset this PC.
![Click on Get Started under Reset this PC.]()
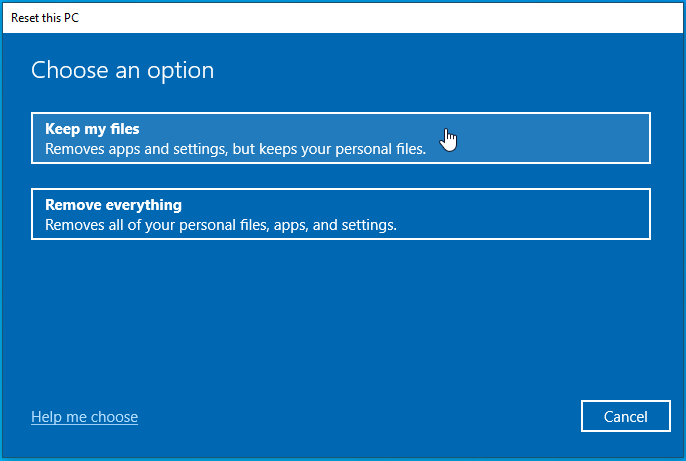
- Once the “Reset this PC” setup wizard appears, select “Keep my files” or “Remove everything” under Choose an Option, depending on your preference.
![Choose a reset option.]()
- If you go for “Keep my files,” Windows will keep your files intact, but your apps and settings will return to their defaults. If you select “Remove everything,” Windows will wipe out all your files, including your installed apps and settings, and the OS will ask if you want to clean your hard drive.
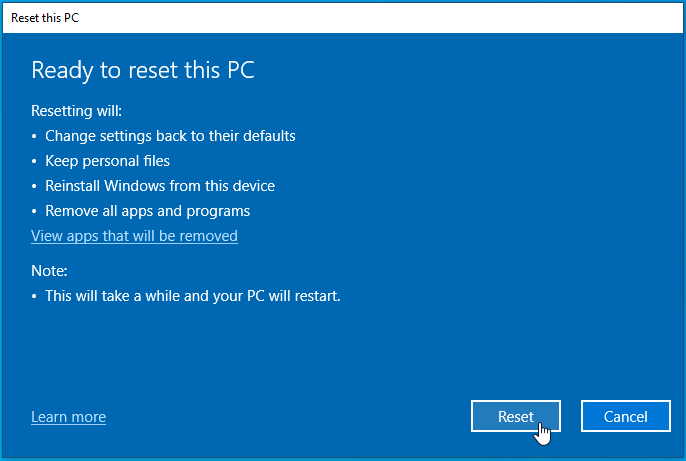
- Once you’ve chosen what you’d like to keep, click on the Next button, then click on Reset.
![Click on Reset.]()
- Allow Windows to complete the job.

Conclusion
The DISM error 1392 shouldn’t bug you any longer. If you have any questions or want to share your experience, please use the comments section below.